
Contents
Precautions
Operating Precautions
User Maintenance
Battery
Mobile Link Precautions
Before Getting Started…
General Guide
Watch Face and Display Indicators
Navigating Between Modes
Cycling Between Timekeeping Mode Digital
Display Contents
Shifting Hands to Read the Digital Display
Charging
Viewing the Face in the Dark
Useful Features
Linking with a Phone
Getting Ready
Auto Time Adjustment
Viewing Stopwatch Data
Configuring World Time Settings
Adjusting Hand Alignment
Phone Finder
Configuring Watch Settings
Changing the Home City Summer Time Setting
Checking the Watch Charge Level
Recording Your Current Location (TIME &
PLACE)
Connection
Connecting with a Phone
Disconnecting from Your Phone
Unpairing
If you purchase another phone
Time Adjustment
Using Watch Operations to Adjust the Time
Setting
Using the Watch in a Medical Facility or
Aircraft
World Time
Using CASIO WATCHES to Configure World
Time City Settings
Checking World Time
World Time City Setting
Swapping Your Home Time and World Time
Alarm
Using CASIO WATCHES to Configure Alarm
Settings
Configuring Alarm Settings
Configuring Schedule Alarm Settings
Enabling the Hourly Time Signal
Turning Off an Alarm or the Hourly Time Signal
Moving to Another Time Zone
Stopwatch
Measuring Elapsed Time
Measuring Lap Times
Example: Recording a Race Lap Time
Viewing Measured Data Records
Lap Times
Timer
Using CASIO WATCHES to Configure Timer
Settings
Setting the Countdown Start Time
Using the Timer
Hand Alignment Adjustment
Using CASIO WATCHES to Adjust Hand
Alignment
Adjusting Hand Alignment
Other Settings
Changing the Date Display Format
Specifying the Day of the Week Language
Enabling the Button Operation Tone
Configuring Power Saving Function Settings
Resetting Watch Settings
Other Information
City Table
Summer Time Table
Supported Phones
Specifications
Copyrights and Registered Copyrights
Troubleshooting
Watch Operation Guide 5707
1
MA2212-EA
OPUM-H
© 2022 CASIO COMPUTER CO., LTD.
MA1902-EA
© 2019 CASIO COMPUTER CO., LTD.
Operation Guide 5582
Contents
Before Getting Started…
Watch Face and Display Indicators
Navigating Between Modes
Cycling Between Timekeeping Mode Digital
Display Contents
Shifting the Hands
Solar Charging
Useful Features
Using Mobile Link with a Mobile
Phone
Getting Ready
A
Install the required app on your phone.
B
Configure Bluetooth settings.
C
Pair the watch with a phone.
Auto Time Adjustment
Viewing Stopwatch Data
Configuring Timer Settings
Setting the Alarm
Configuring World Time Settings
Adjusting Hand Alignment
Phone Finder
Configuring Watch Settings
Changing the Home City Summer Time Setting
Checking the Watch Charge Level
Connection
Connecting with a Phone
Disconnecting from a Phone
Using the Watch in a Medical Facility or
Aircraft
Unpairing
If you purchase another phone
Stopwatch
Measuring Elapsed Time
Measuring Lap Times
Example: Recording a Race Lap Time
Viewing Measured Data Records
Lap Times
Timer
Setting the Countdown Start Time
Using the Timer
Alarms and Hourly Time Signal
Configuring Alarm Settings
Setting a Schedule Alarm
Enabling/Disabling an Alarm or the Hourly
Time Signal
Stopping an Alarm
Determining an Alarm’s On/Off Status
World Time
Checking World Time
World Time City Setting
Swapping Your Home Time and World Time
Adjusting Time Settings
Manually
Setting a Home Time City
Setting the Time/Date
Switching between 12-hour and 24-hour
Timekeeping
Changing the Date Display Format
Specifying the Day of the Week Language
Light
Illuminating the Display Manually
Auto Light
Configuring the Auto Light Setting
Specifying the Illumination Duration
Hand Alignment Adjustment
Adjusting Hand Alignment
Other Settings
Enabling the Button Operation Tone
Configuring Power Saving Function Settings
Returning the Watch to Its Factory Default
Settings
Moving to Another Time Zone
Other Information
City Table
Summer Time Table
Supported Phones
Specifications
Mobile Link Precautions
Copyrights and Registered Copyrights
Troubleshooting
1
②①
③
⑮
⑭
④
⑩
⑪
⑫
⑬
⑤
⑥
⑦
⑧
⑨
DD
DD
D
D
Stopwatch Mode
Timer Mode
Alarm Mode
Timekeeping Mode
Recall Mode
World Time Mode
Mode hand
C
After connectionBefore connection
Any button
Hour, minute,
second
Month, day, day
of the week
Operation Guide 5582
Before Getting
Started…
This section provides an overview of the watch
and introduces convenient ways it can be
used.
Note
●
The illustrations included in this
operation guide have been created to
facilitate explanation. An illustration
may differ somewhat from the item it
represents.
Watch Face and Display
Indicators
N
In the Alarm Mode, the mode hand points
to [AL].
O
In the World Time Mode, the mode hand
points to [WT].
Navigating Between Modes
Press (D) to cycle between modes.
●
In any mode, hold down (D) for at least two
seconds to enter the Timekeeping Mode.
●
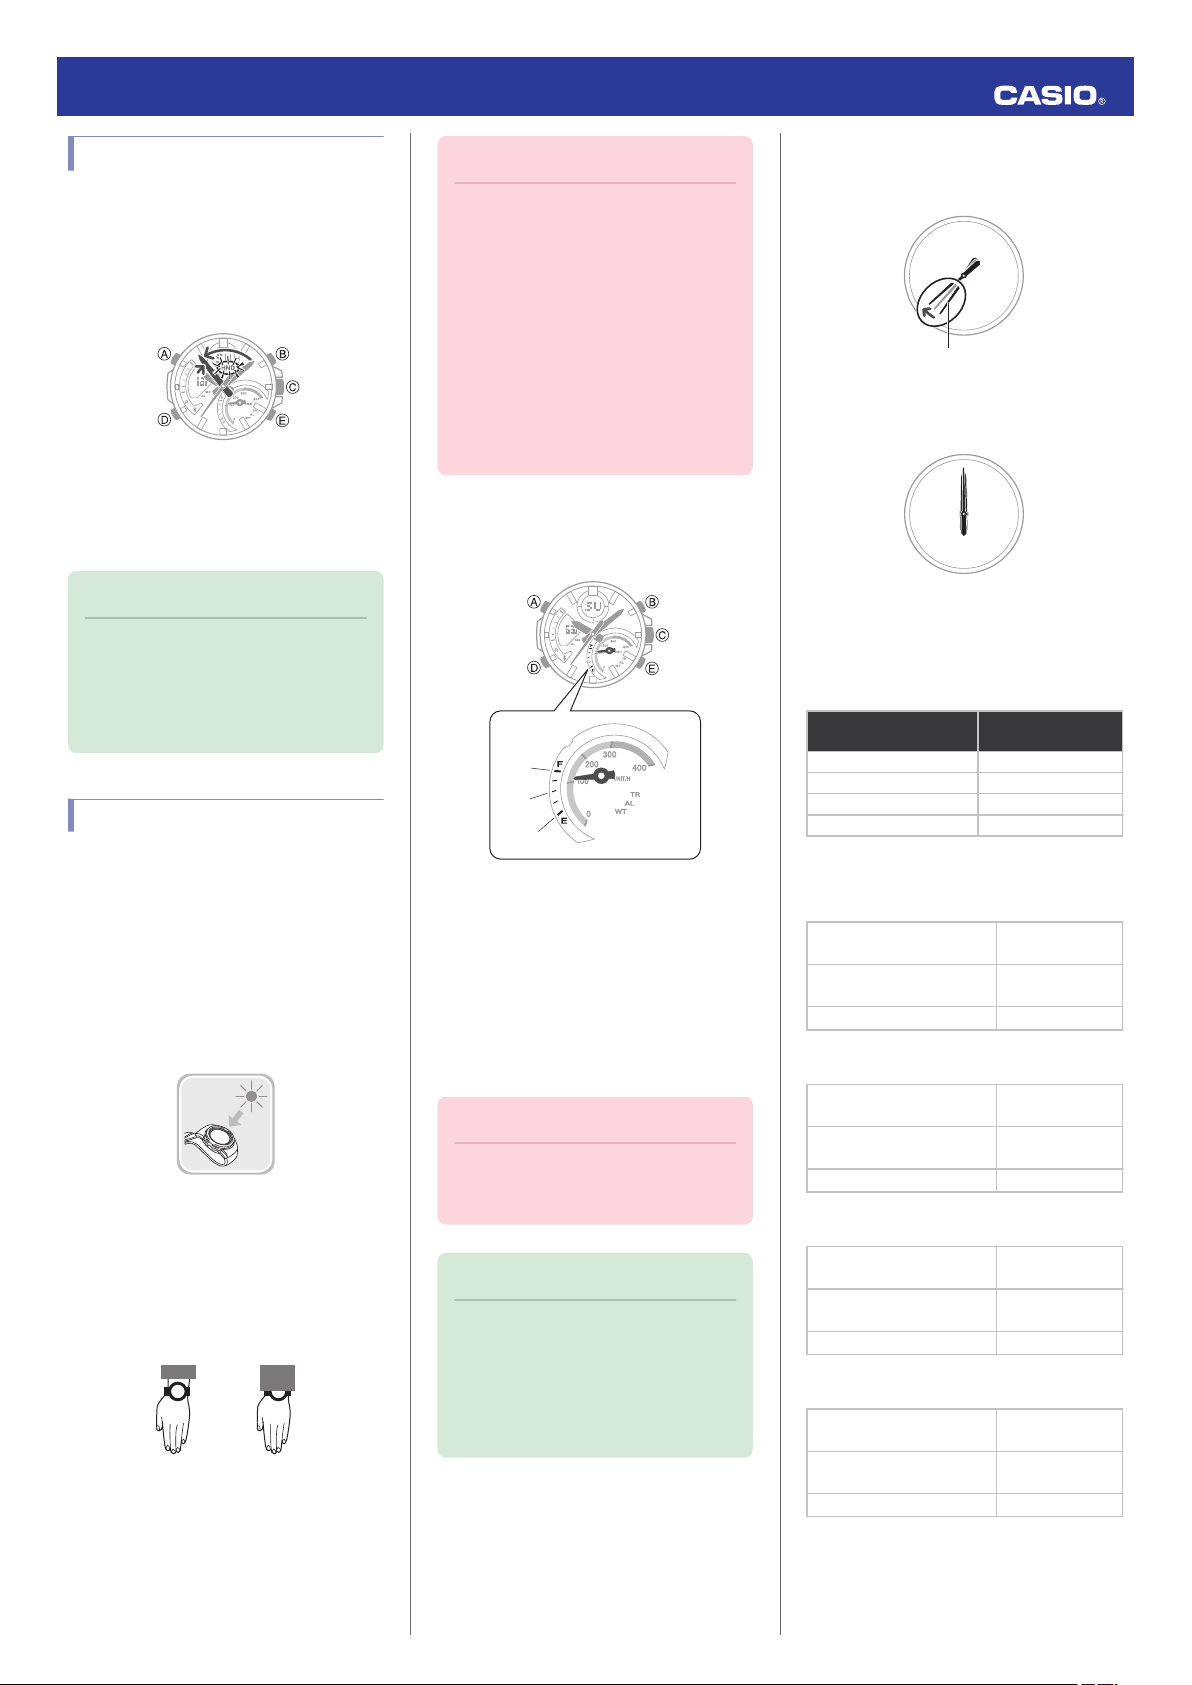
Connecting with a Phone
Hold down (C) for at least 1.5 seconds to
establish a connection with a phone.
●
To disconnect, press any button.
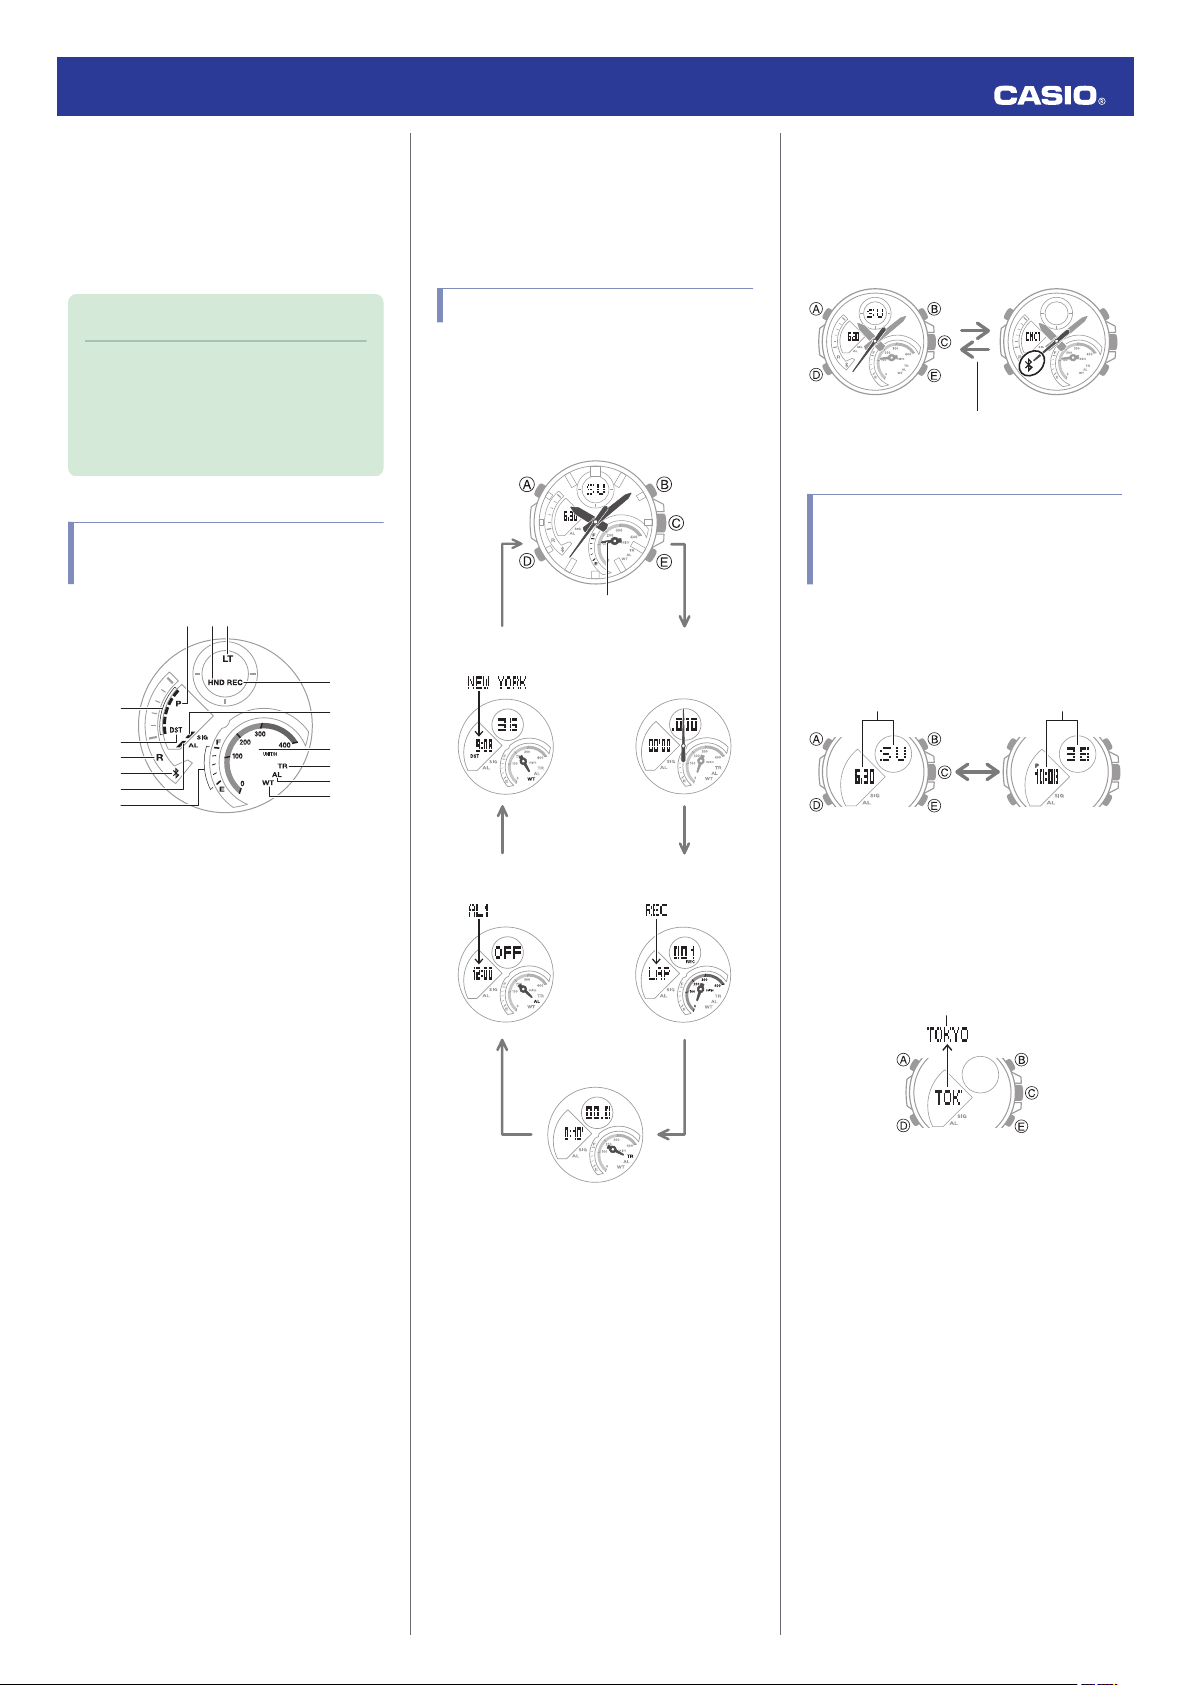
Cycling Between
Timekeeping Mode Digital
Display Contents
Each press of (A) in the Timekeeping Mode
toggles between the display information as
shown below.
A
Displayed during p.m. times while 12-hour
timekeeping is being used.
B
Displayed while the watch’s hands are
shifted for easier reading.
C
Displayed while Auto Light is enabled.
D
Moves in sync with the seconds count in
the Stopwatch Mode.
E
Displayed while the watch is indicating
summer time.
F
When the watch is standing by for
connection with a phone, the second hand
points to [R].
G
When the watch is connected with a
phone, the second hand points to e.
H
Displayed while an alarm is turned on.
I
Battery level
In the Timekeeping Mode, the current
charge level is indicated by the mode
hand.
●
Displaying the Current Home City
In the Timekeeping Mode, pressing (E) will
display the name of the currently selected
Home City for a short while.
●
To return manually to what was shown
before the Home City, press (E).
J
Displayed while in the Recall Mode.
K
Displayed while the hourly time signal is
enabled.
L
In the Stopwatch Mode, the mode hand
indicates speed.
M
In the Timer Mode, the mode hand points
to [TR].
2
Operation Guide 5582
Shifting the Hands
Hand shift moves the hands out of the way for
easy viewing of display information.
While holding down (B), press (D).
1.
●
This will shift the analog hands to allow
easy viewing of display information.
To return the hands to their normal
2.
timekeeping positions, hold down (B) as
you press (D) again, or press (D) to
change to another mode.
Note
●
If you leave the watch with its hands
shifted and do not perform any
operation for about one hour, the
hands will resume normal timekeeping
automatically.
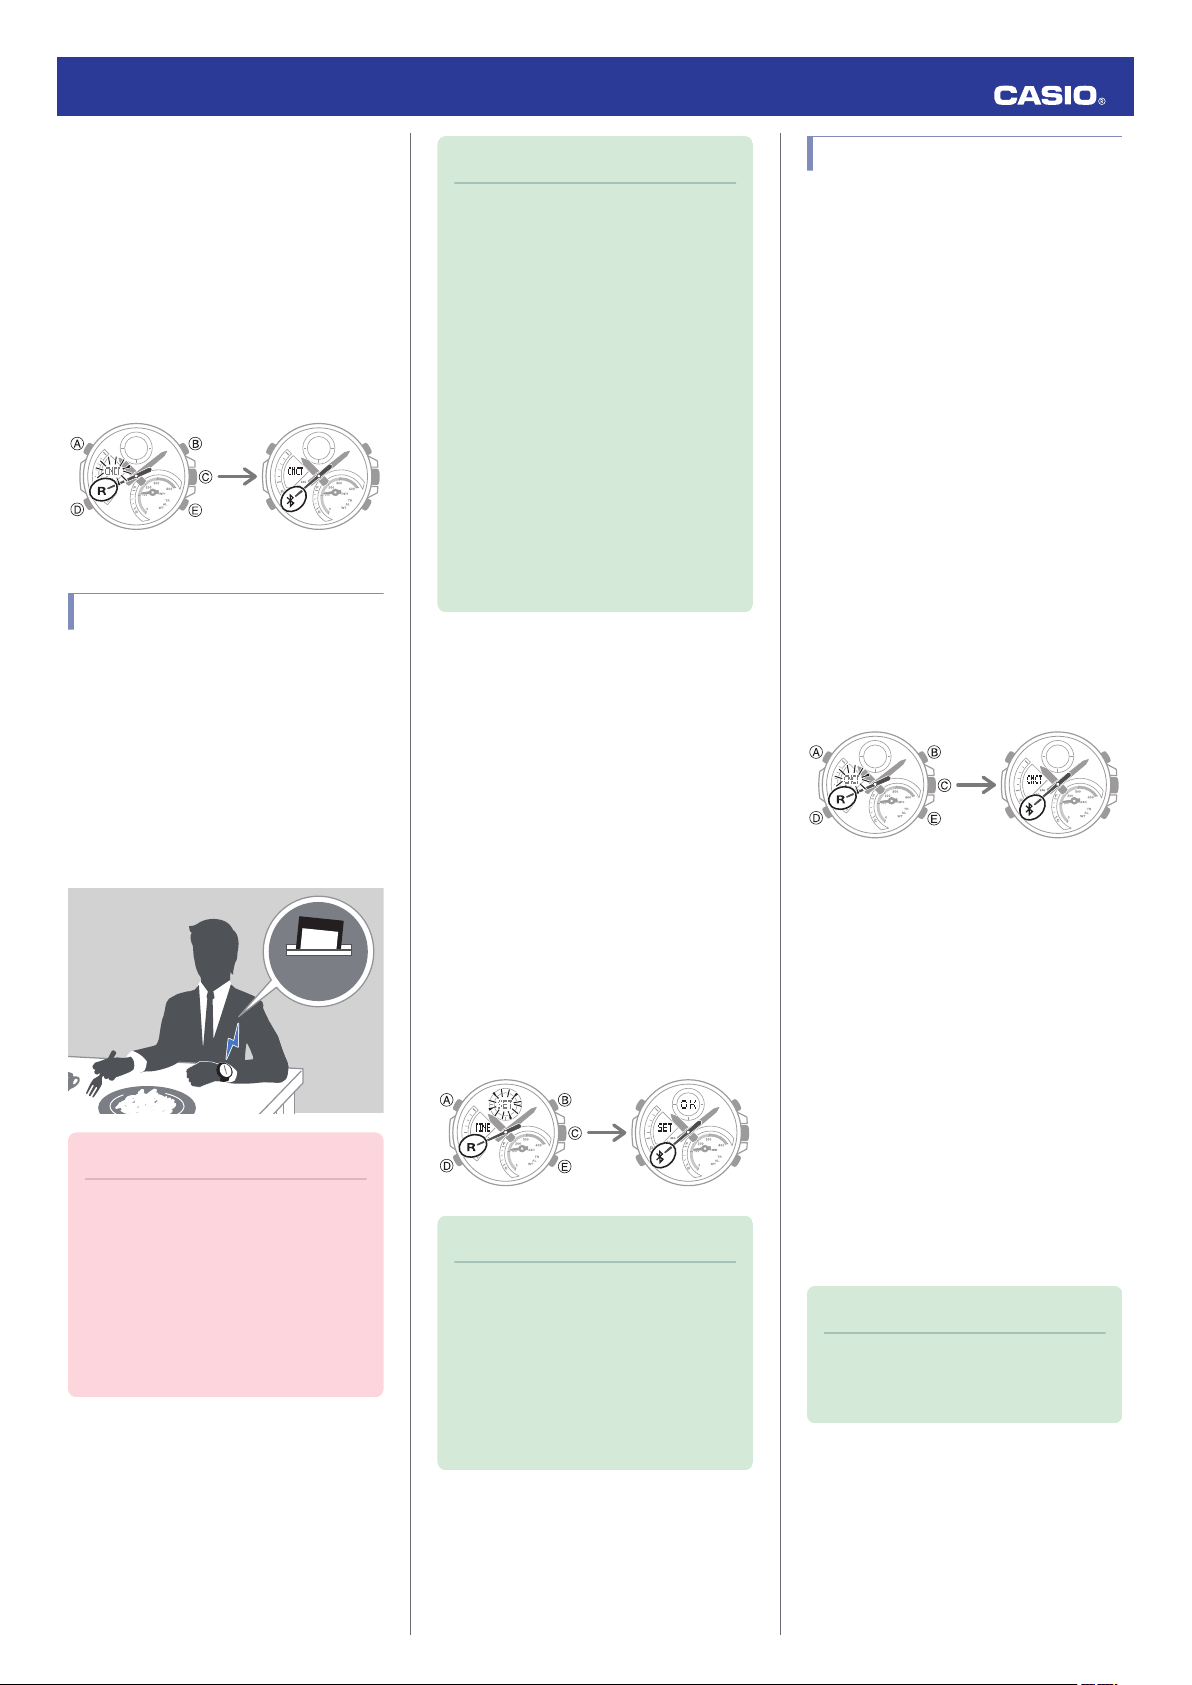
Solar Charging
This watch runs on power supplied from a
rechargeable (secondary) battery that is
charged by a solar panel. The solar panel is
integrated into the face of the watch, and
power is generated whenever the face is
exposed to light.
●
Charging the Watch
When you are not wearing the watch, put it in
a location where it is exposed to bright light.
While you are wearing the watch, make sure
that its face (solar panel) is not blocked from
the light by the sleeve of your clothing. Power
generation efficiency is reduced even when
the face of the watch is blocked only partially.
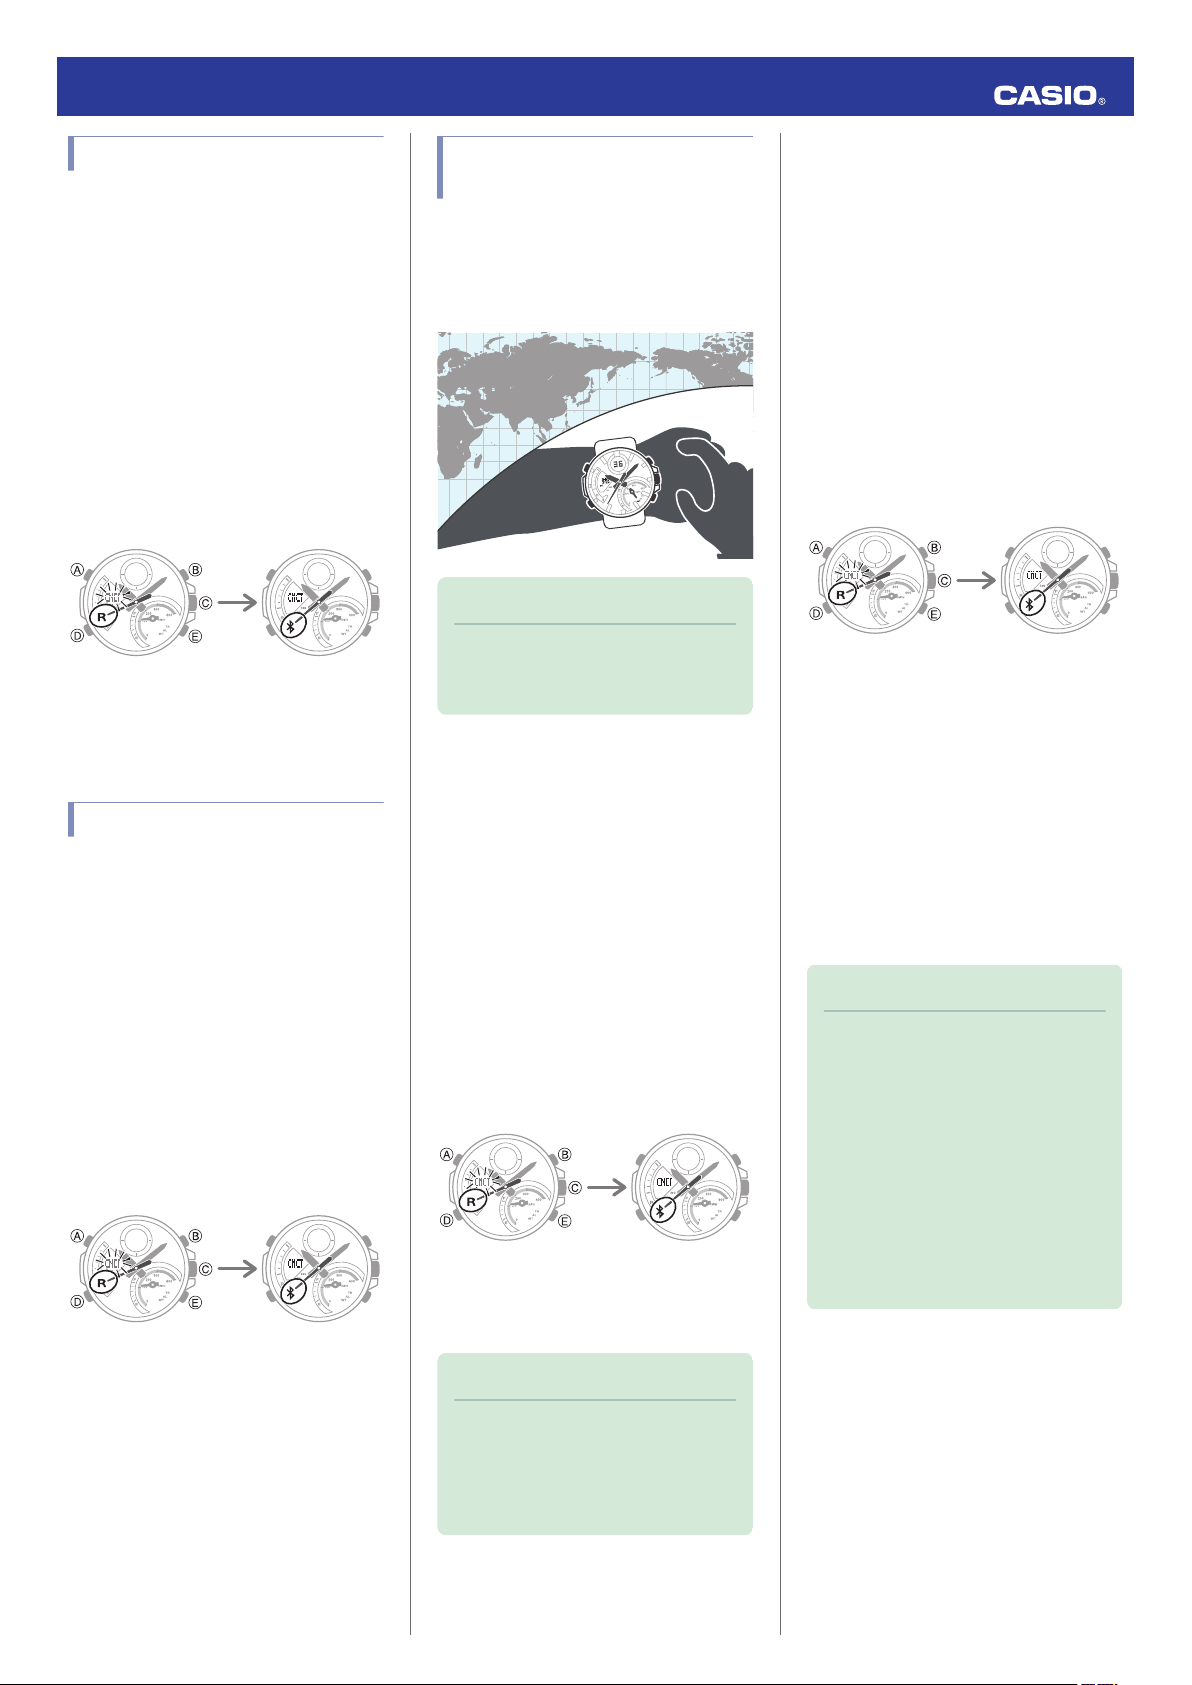
Important!
●
Depending on light intensity and local
conditions, the watch may become hot
to the touch when exposed to light for
charging. Take care to avoid burn
injury after charging. Also, avoid
charging the watch under hightemperature conditions like the ones
described below.
ー
On the dashboard of a vehicle
parked in the sun
ー
Near an incandescent light bulb or
other source of heat
ー
Under direct sunlight or in other hot
areas for long periods
●
Checking the Charge Level
In the Timekeeping Mode, the current charge
level is indicated by the mode hand.
A
Good (high charge)
B
Good (medium charge)
C
Low Battery
●
Remaining Charge and Dead Battery
You can determine if the charge level is low by
checking the hand movement. Functions
become disabled as battery power goes low.
Important!
●
Should the battery go low or go dead,
expose the face (solar panel) to light as
soon as possible.
Note
●
Exposing the watch face to light after
the battery goes dead will cause the
[CHARGE] indicator to appear and the
second hand to rotate
counterclockwise until it stops at
second 57. This indicates charging
has started.
Low Battery Power
The second hand jumps at two-second
intervals.
Dead Battery
All hands are stopped.
●
Charging Time Guidelines
The table below shows guidelines for
approximate charging times.
Required Charging Time for 1-day Use
Light Level (Lux)
Approximate
Charging Time
50,000 8 minutes
10,000 30 minutes
5,000 48 minutes
500 8 hours
Time Required to Achieve Next Charge
Level
●
Sunny day, outdoors (50,000 lux)
Dead battery
charge
Medium charge n High
charge
High charge n Full charge
●
Sunny day, near a window (10,000 lux)
Dead battery
charge
Medium charge n High
charge
High charge n Full charge
●
Overcast day, near a window (5,000 lux)
Dead battery
charge
Medium charge n High
charge
High charge n Full charge
●
Indoor fluorescent lighting (500 lux)
Dead battery
charge
Medium charge n High
charge
High charge n Full charge
Medium
n
Medium
n
Medium
n
Medium
n
2 hours
21 hours
6 hours
6 hours
77 hours
21 hours
10 hours
125 hours
34 hours
117 hours
—
—
3
Operation Guide 5582
Note
●
Actual charging time depends on the
local charging environment.
●
Power Saving Function
Leaving the watch in a dark location for about
one hour between the hours of 10 p.m. and 6
a.m. will cause the display to go blank, and the
watch to enter Level 1 power saving. If the
watch is left in this condition for six or seven
days, the watch will enter Level 2 power
saving.
Power Saving Level 1 :
The second hand stops at 12 o’clock and the
digital display goes blank to save power. The
watch can connect with a phone at this level.
Power Saving Level 2 :
All hands stop and the digital display goes
blank to save power. All functions are
disabled.
Recovering from Power Saving Operation
Use one of the operations below to exit power
saving.
●
Press any button.
●
Move the watch to a bright location.
●
Trigger auto light by angling the watch
towards your face.
Useful Features
Pairing the watch with your phone makes a
number of the watch’s features easier to use.
Auto Time Adjustment
Auto Time Adjustment
l
Selection of More Than 300 World Time
Cities
Configuring World Time Settings
l
Using Mobile Link with
a Mobile Phone
While there is a Bluetooth connection
between the watch and phone, the watch time
setting is adjusted automatically. You can also
change the watch’s other settings.
Note
●
This function is available only while
EDIFICE Connected is running on the
phone.
●
This section describes watch and
phone operations.
: Watch operation
X
: Phone operation
Y
Getting Ready
A
Install the required app on your
phone.
In Google Play or the App Store, search for the
CASIO “EDIFICE Connected” app and install
it on your phone.
Note
●
The watch will not enter power saving
in the cases below.
ー
Alarm Mode
ー
While in the Stopwatch Mode
ー
While in the Timer Mode
●
You can enable or disable Power
Saving.
Configuring Power Saving Function
l
Settings
●
Note that the watch also may enter
power saving if its face is blocked from
light by your sleeve while you are
wearing it.
Stopwatch Data Transfer to the Phone
Viewing Stopwatch Data
l
In addition, a number of other watch settings
can be configured using your phone.
For transfer data to a watch and to
configure settings, you first need to pair
the watch with your phone.
Getting Ready
l
●
Your phone needs to have the CASIO
“EDIFICE Connected” app installed to pair
with the watch.
B
Configure Bluetooth settings.
Enable the phone’s Bluetooth.
Note
●
For details about setting procedures,
see your phone documentation.
C
Pair the watch with a phone.
Before you can use the watch in combination
with a phone, you first need to pair them.
Move the phone to be paired with close to
1.
(within one meter of) the watch.
2.
On the Home Screen, tap the “EDIFICE
Y
Connected” icon.
4
Pairing complete.Pairing started.
Trying to connect
Following time
adjustment
Trying to connect
Connected
Operation Guide 5582
3.
Perform the operation shown on the
Y
phone screen to be paired with.
●
If a pairing prompt message appears,
perform the operation shown on the
phone screen.
●
When pairing starts, the second hand
will point to [R]. When pairing is
complete, the second hand will move to
.
e
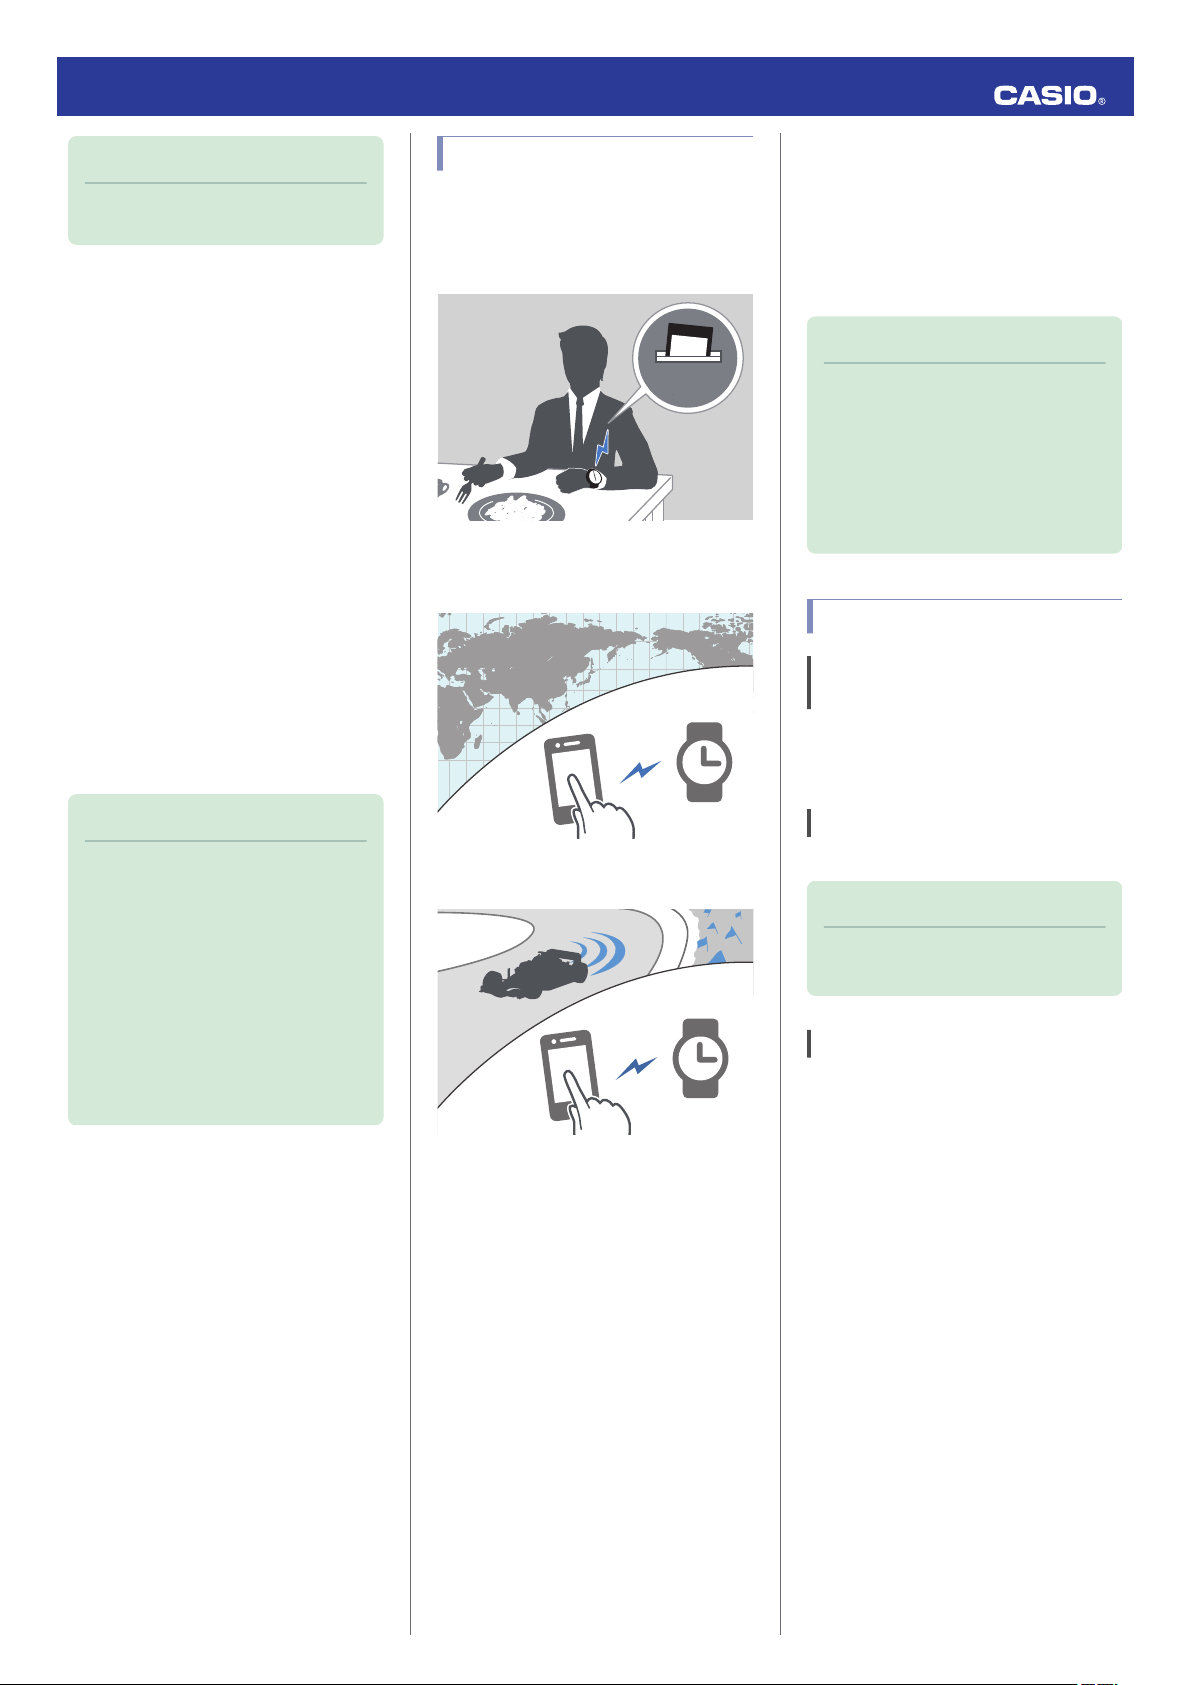
Auto Time Adjustment
Your watch will connect with a phone at preset
times each day and adjust its time settings
automatically.
●
Using Auto Adjust
Your watch adjusts its time setting four times
a day according to a preset schedule. If you
leave your watch in the Timekeeping Mode, it
will perform the adjustment operation
automatically as you go about your daily life,
without any operation required by you.
Note
●
If the watch does not indicate the
correct time even if is able to connect
with a phone, correct the hand and
date indicator positions.
Adjusting Hand Alignment
l
●
If there is a World Time City specified
with EDIFICE Connected, its time will
also be adjusted automatically.
●
The watch will connect with the phone
and perform auto time adjustment at
around 12:30 a.m., 6:30 a.m., 12:30
p.m. and 6:30 p.m. The connection is
automatically terminated after auto
time adjustment is complete.
●
The watch cannot connect with a
phone for time adjustment while a
stopwatch measurement or timer
operation is in progress.
●
Triggering Immediate Time Adjustment
The watch’s time setting will be adjusted
automatically whenever you establish a
connection between the watch and a phone.
Whenever you want to adjust the watch’s time
setting based on your phone’s time, perform
the procedure below to connect with a phone.
Move the phone close to (within one meter
1.
of) the watch.
2.
Press (C).
X
[SET] flashes to indicate that the watch
has started the connection operation.
Once the watch and phone are
connected, [OK] will appear, and then the
watch will adjust its time setting based on
information from the phone.
Viewing Stopwatch Data
This section explains how to send lap times
(up to 200 records) that are stored in watch
memory, as well as other data to your phone
for viewing with EDIFICE Connected.
●
Sending Stopwatch Data to a Phone
Use the procedure below to send data from
the watch to a phone.
1.
Tap the “EDIFICE Connected” icon.
Y
2.
Hold down (C) for at least 1.5 seconds
X
until [CNCT] starts to flash.
When a connection is established
between the watch and phone, [CNCT]
will stop flashing and the second hand will
move from [R] to e.
●
If connection fails for some reason,
[ERR] will appear on the display
momentarily and then the watch will
return to the mode it was in before you
started the connection procedure.
3.
Perform the operation shown on the
Y
phone screen to transfer data measured
by the watch to the phone.
After data transfer is complete, a list of the
measurement data will appear on the
phone display.
●
Tapping a stopwatch data item displays
its details.
Important!
●
The watch may not be able to perform
auto time adjustment under the
conditions described below.
ー
While the watch is too far away from
its paired phone
ー
While communication is not possible
due to radio interference, etc.
ー
While the phone is updating its
system
Note
●
You can perform the above operation
for time adjustment from any watch
mode.
●
The connection is terminated
automatically after time adjustment is
complete.
●
If time adjustment fails for some
reason, [ERR] will appear.
●
Checking a Lap Time
Use EDIFICE Connected to check the data
you sent to the phone.
1.
Tap the “EDIFICE Connected” icon.
Y
2.
Perform the operation shown on the
Y
phone screen to view the measurement
data you want.
Note
●
Tapping “Edit” displays a screen that
you can use to change the data item
title and to delete lap time data.
5
Configuring Timer Settings
Trying to connect
Connected
Trying to connect
Connected
Trying to connect
Connected
Trying to connect
Connected
1.
Tap the “EDIFICE Connected” icon.
Y
2.
Hold down (C) for at least 1.5 seconds
X
until [CNCT] starts to flash.
When a connection is established
between the watch and phone, [CNCT]
will stop flashing and the second hand will
move from [R] to e.
●
If connection fails for some reason,
[ERR] will appear on the display
momentarily and then the watch will
return to the mode it was in before you
started the connection procedure.
3.
Perform the operation shown on the
Y
phone screen to configure the timer time
setting.
Setting the Alarm
1.
Tap the “EDIFICE Connected” icon.
Y
2.
Hold down (C) for at least 1.5 seconds
X
until [CNCT] starts to flash.
When a connection is established
between the watch and phone, [CNCT]
will stop flashing and the second hand will
move from [R] to e.
●
If connection fails for some reason,
[ERR] will appear on the display
momentarily and then the watch will
return to the mode it was in before you
started the connection procedure.
3.
Perform the operation shown on the
Y
phone screen to configure alarm time
settings.
Operation Guide 5582
Configuring World Time
Settings
Specifying a World Time City with EDIFICE
Connected causes the watch’s World Time
City to change accordingly. Watch settings
can be configured to perform auto summer
time switching for the World Time City.
Note
●
EDIFICE Connected World Time lets
you select from among approximately
300 cities as the World Time City.
●
Selecting a World Time City
1.
Tap the “EDIFICE Connected” icon.
Y
2.
Hold down (C) for at least 1.5 seconds
X
until [CNCT] starts to flash.
When a connection is established
between the watch and phone, [CNCT]
will stop flashing and the second hand will
move from [R] to e.
●
If connection fails for some reason,
[ERR] will appear on the display
momentarily and then the watch will
return to the mode it was in before you
started the connection procedure.
3.
Perform the operation shown on the
Y
phone screen. The World Time setting will
be reflected on the watch.
Note
●
You can use EDIFICE Connected to
select from among World Time cities in
addition to those built into the watch.
The additional cities can be selected
only by using EDIFICE Connected.
●
1.
2.
3.
Configuring the Summer Time Setting
Tap the “EDIFICE Connected” icon.
Y
Hold down (C) for at least 1.5 seconds
X
until [CNCT] starts to flash.
When a connection is established
between the watch and phone, [CNCT]
will stop flashing and the second hand will
move from [R] to e.
●
If connection fails for some reason,
[ERR] will appear on the display
momentarily and then the watch will
return to the mode it was in before you
started the connection procedure.
Perform the operation shown on the
Y
phone screen to select a summer time
setting.
●
“Auto”
The watch switches between standard
time and summer time automatically.
●
“OFF”
The watch always indicates standard
time.
●
“ON”
The watch always indicates summer
time.
Note
●
While the summer time setting is
“Auto”, the watch will switch between
standard time and summer time
automatically. You do not need to
switch between standard time and
summer time manually. Even if you are
in an area that does not observe
summer time, you can leave the
watch’s summer time setting as “Auto”.
●
For information about summer time
periods, refer the “Summer Time
Table” or EDIFICE Connected.
6
●
Trying to connect
Connected
Trying to connect
Connected
Trying to connect
Disconnected
ConnectedSearching for phone
Trying to connect
Connected
Swapping Your World Time and Home
Time
1.
Tap the “EDIFICE Connected” icon.
Y
2.
Hold down (C) for at least 1.5 seconds
X
until [CNCT] starts to flash.
When a connection is established
between the watch and phone, [CNCT]
will stop flashing and the second hand will
move from [R] to e.
●
If connection fails for some reason,
[ERR] will appear on the display
momentarily and then the watch will
return to the mode it was in before you
started the connection procedure.
3.
Perform the operation shown on the
Y
phone screen to swap your Home Time
with your World Time.
Note
●
Auto time adjustment does not work for
24 hours after swapping of the Home
Time and World Time.
Operation Guide 5582
Adjusting Hand Alignment
If the hands are out of alignment even though
auto time adjustment is being performed, use
EDIFICE Connected to adjust them.
1.
Tap the “EDIFICE Connected” icon.
Y
2.
Hold down (C) for at least 1.5 seconds
X
until [CNCT] starts to flash.
When a connection is established
between the watch and phone, [CNCT]
will stop flashing and the second hand will
move from [R] to e.
●
If connection fails for some reason,
[ERR] will appear on the display
momentarily and then the watch will
return to the mode it was in before you
started the connection procedure.
3.
Perform the operation shown on the
Y
phone screen to correct hand alignment.
Phone Finder
You can use phone finder to trigger a tone on
the phone to make it easy to find. The tone is
forced to sound even if the phone is in vibrate
mode.
Important!
●
Do not use this function in areas where
phone call tones are restricted.
●
The tone sounds at a high volume. Do
not use this function when listening to
phone output over earphones.
2.
3.
4.
Configuring Watch Settings
You can use EDIFICE Connected to specify
the amount of time until a Bluetooth
connection is automatically terminated, to
enable or disable the watch operation tone,
and to configure other settings.
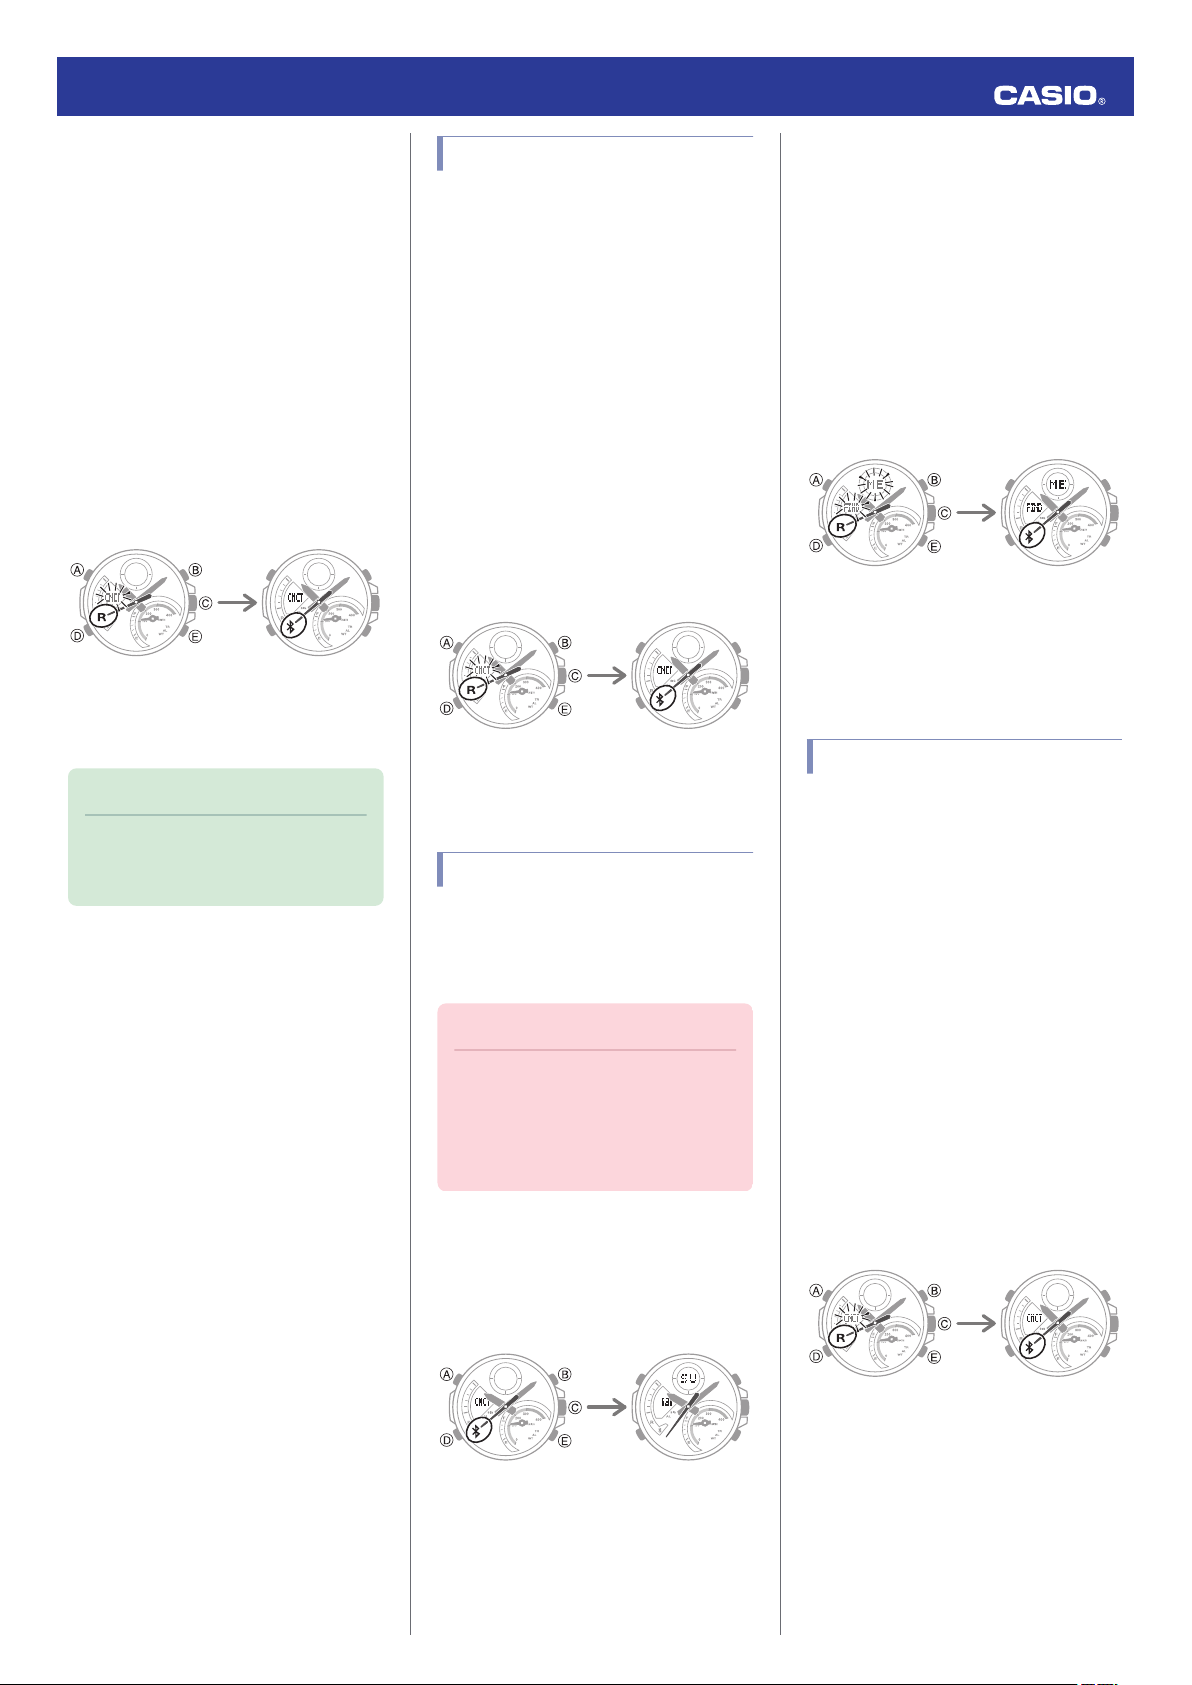
1.
2.
If the watch is in any mode besides the
X
Timekeeping Mode, hold down (D) for at
least two seconds to enter the
Timekeeping Mode.
Hold down (E) for at least 1.5 seconds
X
until the second hand moves to [R].
The phone will sound a tone when it
establishes a connection with the watch.
●
It will take a few seconds before the
phone tone sounds.
Press any button to stop the tone.
X
●
You can press any watch button to stop
the phone tone only during the first 30
seconds after it starts to sound.
Tap the “EDIFICE Connected” icon.
Y
Hold down (C) for at least 1.5 seconds
X
until [CNCT] starts to flash.
When a connection is established
between the watch and phone, [CNCT]
will stop flashing and the second hand will
move from [R] to e.
●
If connection fails for some reason,
[ERR] will appear on the display
momentarily and then the watch will
return to the mode it was in before you
started the connection procedure.
1.
If the watch is connected with a phone,
X
press any button to terminate the
connection.
3.
Select the setting you want to change
Y
and then perform the operation shown on
the phone screen.
7
Loading…
Casio Watch Line: Edifice
Module number: 5582
Manual in PDF: Watch 5582 Online → (without downloading, good for mobile);
English Instruction Manual in PDF: Download
Like your watch? Enjoy our recent news about ECB-900 Series


All Edifice ECB-900 News →
Being a fan of CASIO watches since 2009, I strive to share my passion and knowledge with others. Through publishing short notes and curating all listings on this site, I hope to inspire fellow enthusiasts to explore the world of high-quality CASIO watches. A proud owner of GST-B200, GG-1000, GA-110. Remember: Fake Watches are for Fake People.
На чтение4 мин
Опубликовано
Обновлено
Современные часы стали не просто устройством для отображения времени, но и настоящими компаньонами в повседневной жизни. Часы Casio Edifice ECB 900 являются одним из самых популярных моделей в линейке Casio Edifice. Их стильный дизайн и множество функций делают их интересными для самых требовательных пользователей.
Одной из главных привлекательных особенностей Casio Edifice ECB 900 является возможность настройки различных параметров. В этой статье мы рассмотрим несколько простых шагов, которые помогут вам настроить свои часы и насладиться всеми их возможностями.
Первый шаг в настройке Casio Edifice ECB 900 — установка времени и даты. Для этого необходимо нажать и удерживать кнопку «Mode» несколько секунд, пока не появится индикатор «SET». Затем, с помощью кнопок «Start/Stop» и «Adjust», можно выбрать нужное значение и перейти к следующему параметру. После установки времени и даты, не забудьте нажать кнопку «Mode», чтобы сохранить настройки.
Второй шаг — настройка будильника. Для этого необходимо нажать кнопку «Mode» несколько раз, чтобы перейти в режим настройки будильника. Затем, с помощью кнопок «Start/Stop» и «Adjust», можно выбрать время срабатывания будильника, а также активировать или деактивировать его. Не забудьте нажать кнопку «Mode», чтобы сохранить настройки.
И, наконец, третий шаг — настройка дополнительных функций Casio Edifice ECB 900. Для этого необходимо нажать кнопку «Mode» несколько раз, чтобы перейти в режим настройки дополнительных функций. Здесь вы можете выбрать формат отображения времени, настроить секундомер, установить второй часовой пояс и многое другое. Пользуйтесь кнопками «Start/Stop» и «Adjust», чтобы выбрать и настроить нужные параметры. Не забудьте нажать кнопку «Mode» для сохранения настроек.
Теперь вы знаете несколько простых шагов для настройки Casio Edifice ECB 900. Следуя этим инструкциям, вы сможете настроить свои часы и насладиться всеми их функциями. Не бойтесь экспериментировать и изучать все возможности своих часов — именно в этом заключается их особая привлекательность.
Распаковка и подготовка к настройке Casio Edifice ECB 900
Перед тем, как приступить к настройке Casio Edifice ECB 900, важно правильно распаковать и подготовить часы для использования. Следуя нескольким простым шагам, вы сможете быстро начать настраивать и пользоваться своими новыми часами.
Шаг 1: Распаковка
Внимательно откройте коробку с Casio Edifice ECB 900. Убедитесь, что все комплектующие находятся внутри, включая часы, ремешок, инструкцию пользователя и гарантийный талон. Проверьте наличие всех необходимых деталей и аксессуаров.
Шаг 2: Удаление защитной пленки
Перед началом настройки Casio Edifice ECB 900, удалите защитную пленку, которая может находиться на экране и корпусе часов. Осторожно снимите пленку, чтобы предотвратить появление царапин на поверхности часов.
Шаг 3: Зарядка
Проверьте уровень заряда батареи часов. Если заряд низкий, подключите Casio Edifice ECB 900 к сети с помощью прилагаемого USB-кабеля и зарядного устройства. Позвольте часам полностью зарядиться перед началом настройки.
Шаг 4: Подготовка наручного ремешка
Если необходимо, настройте длину наручного ремешка на Casio Edifice ECB 900. Инструкции по регулировке ремешка можно найти в инструкции пользователя. Убедитесь, что ремешок плотно и удобно сидит на вашем запястье.
Шаг 5: Изучение инструкции пользователя
Перед началом настройки часов внимательно изучите инструкцию пользователя, прилагаемую в комплекте с Casio Edifice ECB 900. Ознакомьтесь со всеми функциями и возможностями часов, чтобы использовать их наиболее эффективно.
После завершения всех этих шагов вы будете готовы к настройке Casio Edifice ECB 900 и начнете пользоваться всеми его функциями и преимуществами.
Подключение и синхронизация Casio Edifice ECB 900 с мобильным устройством
Шаг 1: Загрузите и установите приложение «Casio Edifice» на свое мобильное устройство. Приложение доступно для скачивания в App Store для пользователей iOS и в Google Play для пользователей Android.
Шаг 2: Включите Bluetooth на своем мобильном устройстве и на часах Casio Edifice ECB 900. Для включения Bluetooth на часах нажмите и удерживайте кнопку «A» на главном циферблате до тех пор, пока не появится символ Bluetooth на дисплее.
Шаг 3: Откройте приложение «Casio Edifice» на своем мобильном устройстве и выполните поиск доступных устройств Bluetooth. В списке устройств выберите Casio Edifice ECB 900.
Шаг 4: После успешного подключения касьетки Casio Edifice ECB 900 с мобильным устройством, вы сможете синхронизировать время и дату с телефоном. Приложение автоматически синхронизирует часы с временем и датой, указанными на вашем мобильном устройстве.
Примечание: Для более подробных инструкций и настроек, пожалуйста, обратитесь к руководству пользователя, поставляемому вместе с Casio Edifice ECB 900.
Теперь, когда вы успешно подключили и синхронизировали Casio Edifice ECB 900 с вашим мобильным устройством, вы можете наслаждаться всеми возможностями и функциями, которые предлагают умные часы Casio Edifice.
Настройка основных функций Casio Edifice ECB 900
1. Установка даты и времени
Первым шагом является установка даты и времени на часах Casio Edifice ECB 900. Чтобы сделать это, нажмите кнопку «Mode» на правой стороне часов, чтобы перейти в режим настройки. Затем используйте кнопки на левой стороне часов, чтобы выбрать различные параметры (месяц, день, год, часы и минуты) и вводить их значения.
2. Настройка будильника
Вторым шагом является настройка будильника на Casio Edifice ECB 900. Чтобы сделать это, в режиме настройки нажмите кнопку «Mode» до тех пор, пока не увидите индикатор «AL» (будильник). Затем используйте кнопки на левой стороне часов, чтобы выбрать часы и минуты будильника и ввести их значения. После завершения настройки будильника нажмите кнопку «Mode», чтобы выйти из режима настройки.
3. Настройка таймера
Третьим шагом является настройка таймера на Casio Edifice ECB 900. Перейдите в режим настройки, нажав кнопку «Mode» до появления индикатора «TI» (таймер). Используйте кнопки на левой стороне часов, чтобы выбрать минуты, секунды и количество повторений для таймера, и введите соответствующие значения. Нажмите кнопку «Mode», чтобы выйти из режима настройки.
Важно отметить, что Casio Edifice ECB 900 имеет и другие функции, такие как хронограф и функция автоматической подсветки экрана. Однако настройка этих функций выходит за рамки данной статьи. Удачи в настройке вашего Casio Edifice ECB 900!