
Название проекта: LegoGun — Пистолет из Lego ev3
Платформа: LEGO Mindstorms
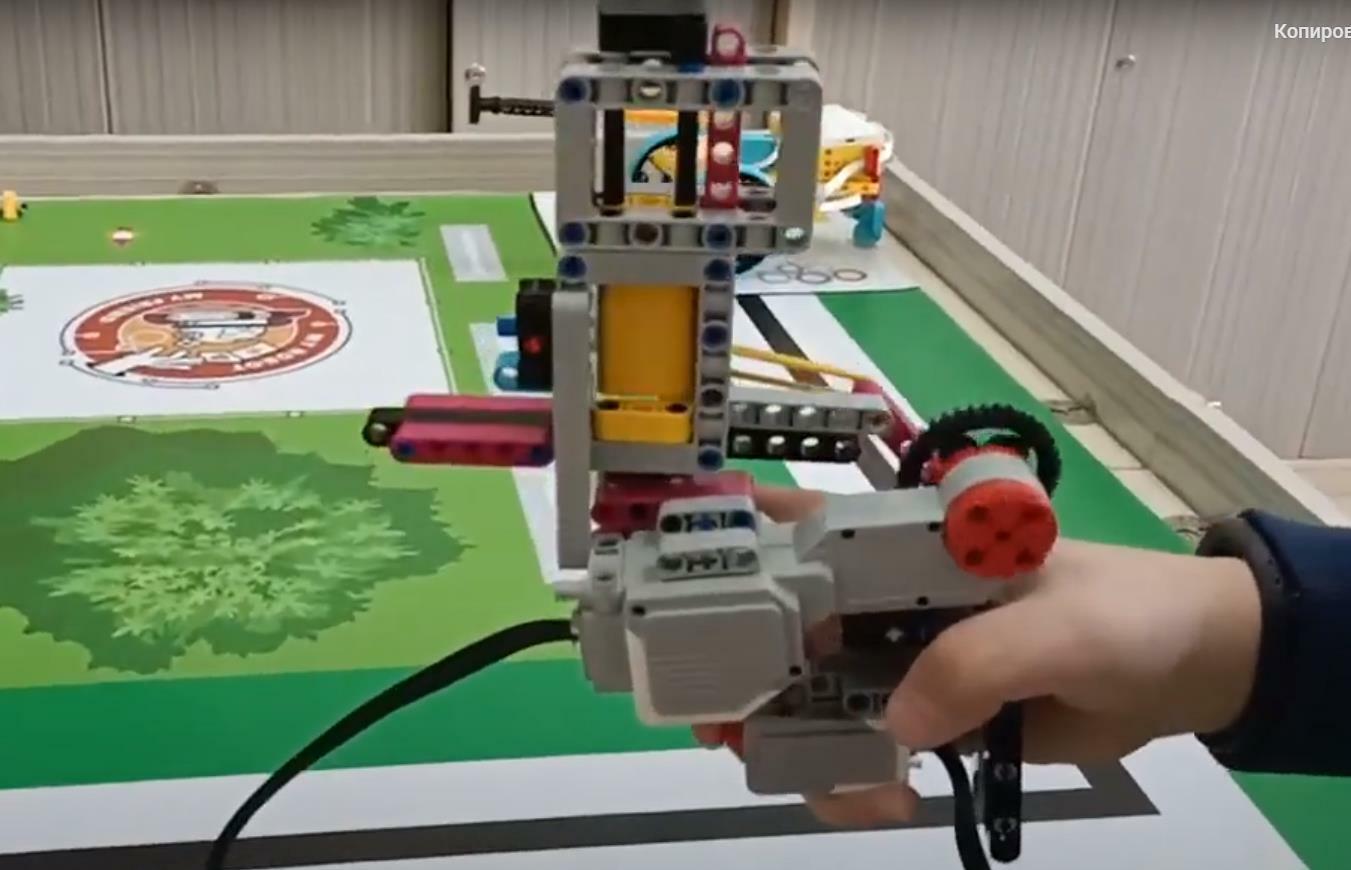
LegoGun — двуствольный пистолет из Lego Mindstorms EV3, с возможностью переключения режимов стрельбы и с предохранителем. 2 магазина по 11 патронов.
В основном использованы детали из базового набора Lego Education Mindstorms EV3 (45544). За пошаговой инструкцией можно обратиться к автору:
https://vk.com/abylkanov
https://t.me/mechatroni
Использованные компоненты: Базовый набор 45544

Сайт проекта: https://drive.google.com/open?id=1Xol3de_lTP5HkGh52Wnsl0pOmSYsgYFi
Другие проекты на этой платформе:
- Двуногий робот из Arduino, LEGO и деталей 3D печати
- LEGO EV3 робот-художник
- SpinnerBot из LEGO Mindstorms
- Спирограф — рисующий робот из LEGO Mindstorms EV3
- Бесполезная коробка из Lego Mindstoms EV3
- Гексапод из Lego Mindstorms EV3
- Роботизированная рука из Lego Mindstorms EV3
- Подъемные механизмы из LEGO Mindstorms
- Прибор автоматической подачи одноразовых стаканчиков из LEGO Mindstorms
- Робот-кабан-динозавр DINOR3X из LEGO Mindstorms EV3
- Znap — робот из LEGO Mindstorms EV3
- Робот-сортировщик (Color Sorter) из LEGO Mindstorms EV3
- Робот Educator Vehicle из LEGO Mindstorms EV3
- Робот-сигвей (Gyro Boy) из Lego Mindstorms
- Робот-манипулятор Arm H25 из LEGO Mindstorms
- Робот-гексапод NXTAPOD из LEGO Mindstorms. Модель Даниэля Бенедеттелли
- Робот-щенок (Puppy) из LEGO Mindstorms EV3
- Лимоноид — робот, продающий напитки
- Киноаппарат из Lego Mindstorms
- Принтер из Lego Mindstorms «STALKER ver. 2.0»
- Робот-пожарный из LEGO Mindstorms
- Крестики-нолики — ARBUZIKI-TEAM
- EZ Wilber — говорящий балансирующий робот из Lego Mindstorms
- Ev3 Print3rbot — робот-художник из Lego Mindstorms
- 3D-принтер из Lego печатает шоколадом
- Lego Mindstorms NXT 2.0 играет в шахматы
- Робот-гексапод из Lego Mindstorms NXT 2.0
- Робоноги из Lego Mindstorms
- Lego Mindstorms-экскаватор, управляемый Microsoft Kinect
- Lego-робот DIZZ3
- Крестики-нолики для Lego-робота
- Lego Mindstorms EV3 3D-принтер 2.0
Перейти в каталог DIY-проектов роботов
Как добавить робопроект в каталог?

Теги: headline, Lego Education, Lego проект
Всего 11 инструкций.
Автоматическая пушка
Арбалет
Артиллерийская установка
Боевая тележка
Вертолёт
Карточный пистолет
Метатель шестерёнок
Пушка
Стелс
Танк
Танк
Вернуться в каталог (всего 137 инструкций).

100₽
Скачать инструкцию по сборке Lego EV3 Mindstorms Пистолет. Формат инструкции PDF
-
Описание
-
Отзывы (0)
Описание
С таким оружием можно почувствовать себя настоящим спецназовцем, который борется с бандитами не только ребенку, но и взрослому. Игрушка является приближенной копией известного во всем мире. Это оружие известно по культовой игре Контр-страйк.
Похожие товары
-

Трап Lego wedo 1.0 инструкция
230₽
В корзину -
building instruction Lego EV3 «Dinosaur»
150₽
В корзину -
Инструкция по сборке building instruction Lego WeDo 2.0 «комбайн — combine harvester»
150₽
В корзину -
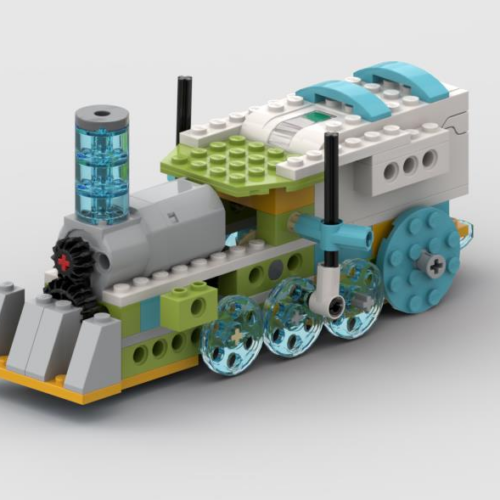
локомотив поезд lego wedo 2.0 инструкция
150₽
В корзину


Методическая копилка
-
Макеты полигонов и регламенты соревнований
-
Инструкции по сборке роботов
-
Учебные пособия
Инструкции по сборке роботов
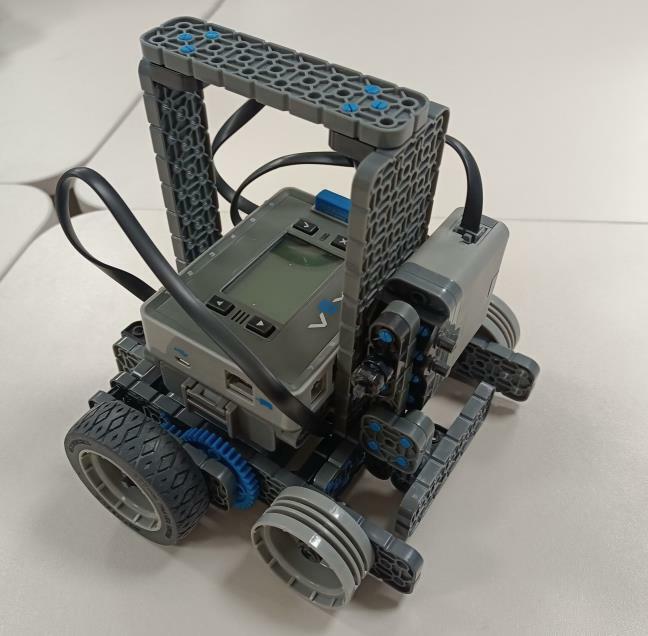
VEX IQ
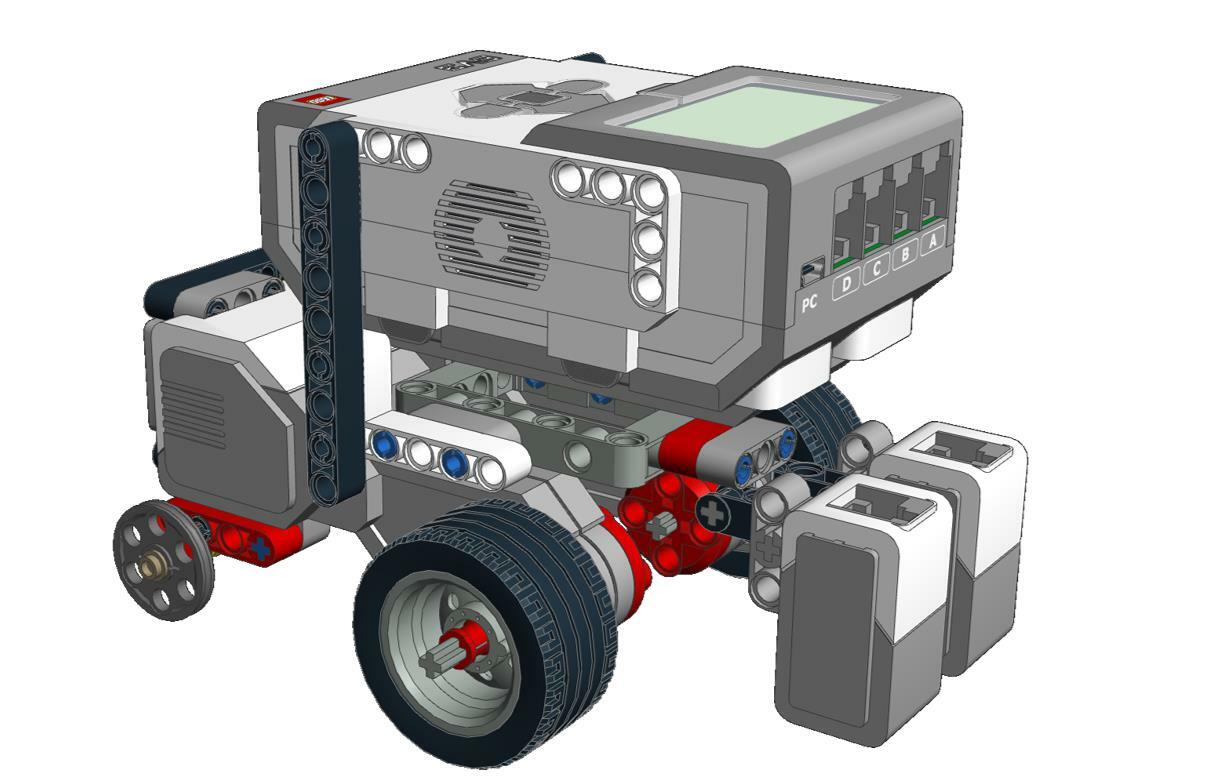
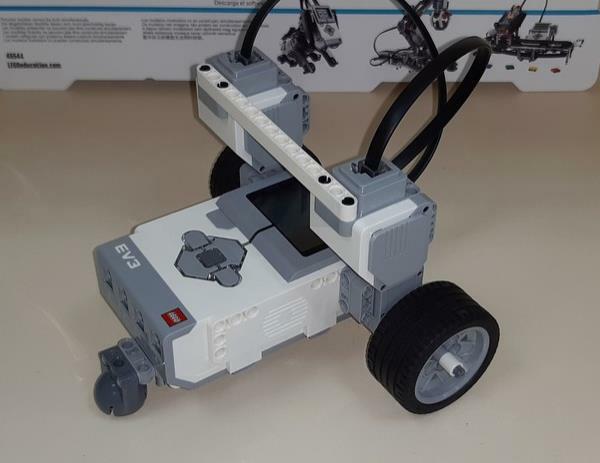
LEGO EV3
LEGO SPIKE PRIME
WEDO 2.0
WEDO 1.0
Роботы VEX IQ
Allie
ARMBOT
CLAWBOT
clutch
flex-up
IKE

LINQ
Slick
stretch
v-rex
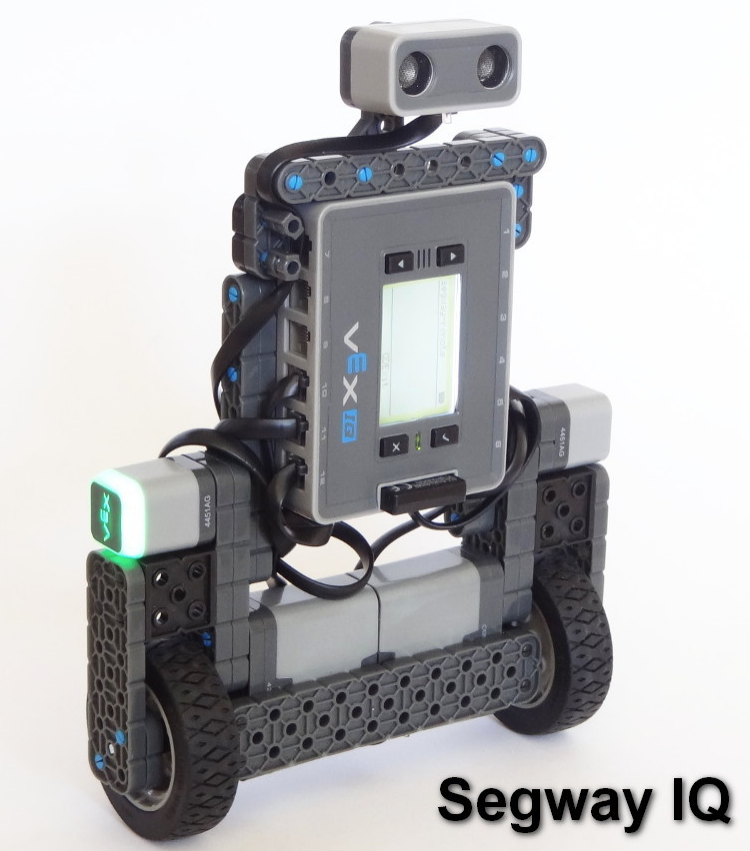
Segway IQ
РОБОт-ФУТБОЛИСТ
Роботы Lego Mindstorms EV3
каретка с двумя датчиками цвета
РОбот-Educator от LEGO
каретка «пятиминутка»
Универсальная каретка
Пистолет EV3
Обработка видео…
г. Нижний Новгород ул.Генкиной, д.84а
+7 906 36 777 36
ПН — СБ с 9-00 до 18-00
Introduction: Lego Mindstorm Turret Shooter
In this Instructable I am going to show you to the best of my ability how to make a Lego Mindstorm Turret Shooter I am mainly going to use just pictures because thats how lego does it. All the parts you need for this instructable are in the Mindstorm 2.0 NXT kit.
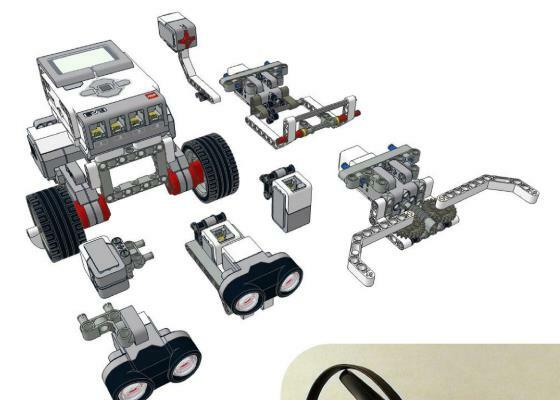
Step 1: Parts From the Kit Needed
These are the parts you need from the NXT kit.
Step 2: Base Part 1/3
This is the first part of the base you need to build
Step 3: Base Part 2/3
this is the next part of the base you need to build
Step 4: Base Part 3/3
Now we make the final part of the base and put the 3 parts together
Step 5: Putting the Base Together
Now we put the three parts of the base together to make it complete
Step 6: 360 Turning Piece
Now were going to make the next piece i don’t really know what to call it so look at the first picture
Step 7: The Shooting Mechanism Part 1/6
this is just one of the sides of the supports that holds up the motor that shoots the plastic balls.
Step 8: The Shooting Mechanism Part 2/6
Next were going to make this which is basically a mirror image of the pervious piece we built.
Step 9: The Shooting Mechanism Part 3/6
Next were going to make the piece that points the shooter up and down so follow the pictures
Step 10: The Shooting Mechanism 4/6
next were going to make this which is part of the firing system.
Step 11: The Shooting Mechanism Part 5/6
this is one of the last pieces we need to build it is what holds the plastic balls before they are fired
Step 12: The Shooting Mechanism Part 6/6
This is hardly a step because it’s just putting two connectors in a motor but here it is anyway
Step 13: Putting It All Together
Step 14: Oops
I forgot when I was building this that I ordered extra connectors and used 2 extra black connectors then what comes in the standard 2.0 NXT kit you can easily substitute a black connector for a long blue connector or short grey connector in many places.
Step 15: Controlling It
Right Now I just use the remote control through bluetooth function on the NXT software. with port A as the Action and BC as keypad controlled