
-
Руководства по ремонту
1
-
Инструкции по эксплуатации
5
Языки:
Acer XD1150 инструкция по эксплуатации
(46 страниц)
- Языки:Болгарский, Венгерский, Греческий, Испанский, Китайский, Латышский, Литовский, Немецкий, Нидерландский, Португальский, Румынский, Русский, Словенский, Турецкий, Хорватский, Шведский, Эстонский
-
Тип:
PDF -
Размер:
7.37 MB
На NoDevice можно скачать инструкцию по эксплуатации для Acer XD1150. Руководство пользователя необходимо для ознакомления с правилами установки и эксплуатации Acer XD1150. Инструкции по использованию помогут правильно настроить Acer XD1150, исправить ошибки и выявить неполадки.
Enlighten Your Bright Ideas
Everywhere !
Acer XD1150
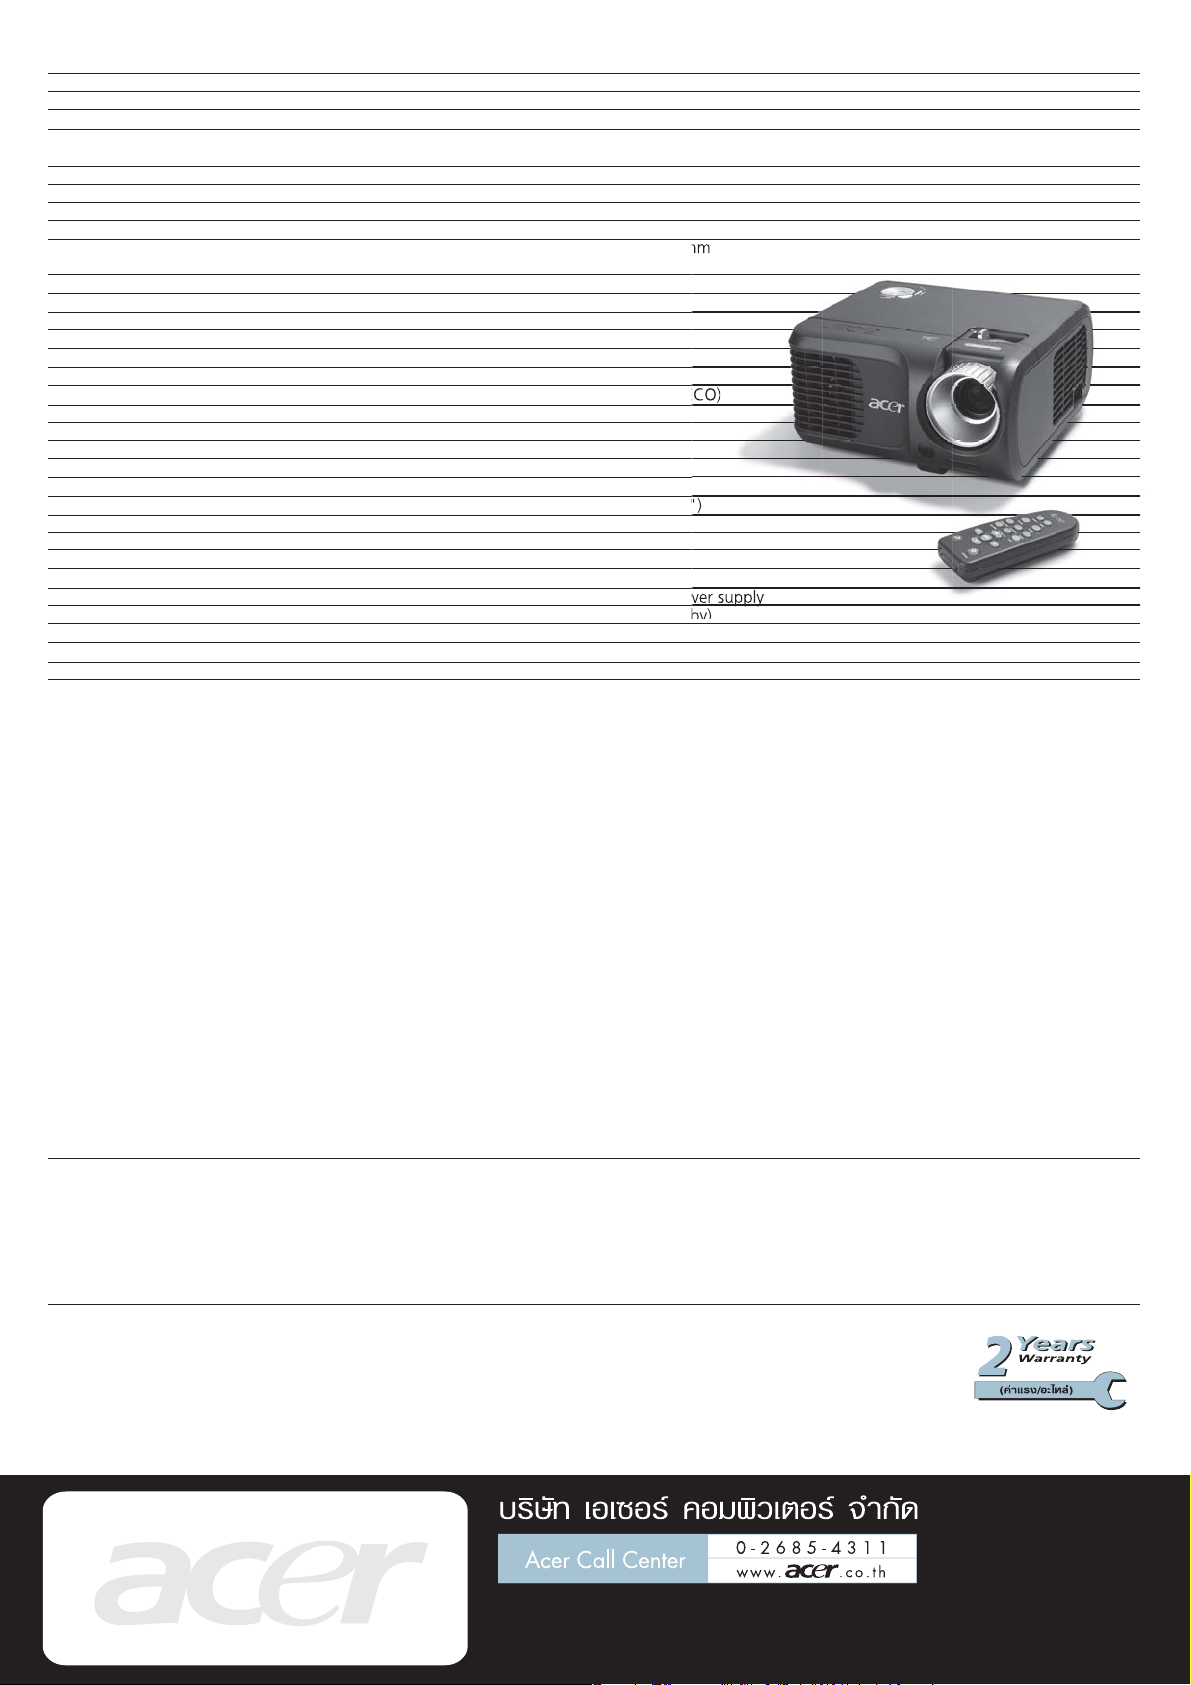
Specifications
Projection System
Resolution
Computer Compatibility
Video Compatibility
Aspect Ratio
Contrast Ratio
Displayable Colors
Brightness
Projection Lens
Projection Screen Size (Diagonal)
Projection Distance
Throw Ratio
Horizontal Scan Rate
Vertical Refresh Scan Rate
Lamp Type
Lamp Life
Keystone Correction
Projection Mode
Ceiling Mounting Capability
Audio
Weight
Dimension
IR Remote Control
Digital Zoom
Picture in Picture
Wireless
Power Supply
Power Consumption
Operation Temperature
Noise Level
Uniformity
Other Features
I/O Connectors
Standard Accessories
Acer XD1150
TM
DLP
Native SVGA (800 x 600), Maximum SXGA (1,280 x 1,024)
IBM PC and Compatibles, Apple Macintosh, iMac, and VESA Standards SXGA, XGA, VGA (resizing)
NTSC (3.58/4.43), PAL (B/D/G/H/I/M/N), SECAM (B/D/G/K/K1/L),
HDTV (720p, 1080i), EDTV (480p, 576p), SDTV (480i, 576i)
4:3 (Native), 16:9
2200:1
16.7 Million Colors
1,800 ANSI Lumens
F / 2.35 ~ 2.47, f = 21.83mm ~ 23.81mm
1:1.1 Manual Zoom and Manual Focus
23.1” (0.59m) ~ 302” (7.68m)
3.28’ (1m) ~ 39.4′ (12m)
50.4″@2m
31.5 ~ 100 kHz
56 ~ 85 Hz
180 W User Replaceable SHP Lamp
2,000 Hours (Standard), 3,000 Hours (ECO)
+/-16 Degrees (Vertical)
Front, Rear, Front-Ceiling, Rear-Ceiling
Yes
N/A
4.8 lbs (2.17Kg)
230 x 238 x 123 mm (9.1″ x 9.4″ x 4.8″)
PgUp/PgDn function
Yes
N/A
N/A
AC Input 100~240V auto-switching power supply
243 Watts (Operation), 14 Watts (Standby)
O
5
C ~ 35OC / 41OF ~ 95OF
31 dBA
90%
1. Empower Key
A quick button on remote control or projector control panel for user easily to perform the
following three Acer unique features.
2. Acer eView Management
A feature which allows user easily to select the optimal display mode for specific display content.
3. Acer eTimer Management
A feature which allows user to enable a Timer function during the presentation. A digit clock
will be displayed on the screen while the timer is in counting. A reminder on the screen and an
alarm sound will be activated when time is up.
4. Acer eOpening Management
A feature which allows user to customized their desired projector startup screen.
5. Auto Shutdown
A feature which allows the projector automatically turned off according to the setting time via
OSD if the projector continuously no signal input
6. Quick Start
The projector starts projecting within 15 seconds after power button being pressed
7. Quick Shutdown
The projector shuts down within 30 seconds after power button being pressed
8. Security
A feature which enables the password control capability of the projector. It prevents the projector
from unauthorized usage. Also, it reduces the possibility of the projector’s being stolen
9. Quick Detection
The projector can immediately detect signal as soon as any source input to the projector. No need
to waste your time to wait for the signal scanning.
10. Advanced 5-Segment Color Wheel
Utilize 5-segment color wheel with additional yellow segment offering great color correctness
Computer Input:
• 1 HDB 15-Pin D-Sub (VGA/Component/HDTV)
AV Input:
• 1 HDB 15-Pin D-Sub (VGA/Component/HDTV, same as above)
• 1 Composite Video RCA Jack
• 1 S-Video Mini DIN
Output:
• 1 USB Connector for Remote Computer Control
AC Power Cord
VGA Cable (15pin D-Sub)
Composite Video Cable (RCA)
Remote Control with PgUp/PgDn function
Batteries x 2 for Remote Controller
User’s Guide (CD-ROM)
Quick Start Card
Lens Cap
Carrying Case
Projector
Projector
À≈Õ¥¿“æ√—∫ª√–°—π 1 ªï
À√◊Õ 1,000 ™—Ë«‚¡ß
191/62-63 ™—Èπ 16 Õ“§“√´’∑’‰Õ ∑“«‡«Õ√å ∂.√—™¥“¿‘‡…°§≈Õ߇µ¬ °√ÿ߇∑æœ 10110
‚∑√»—æ∑å 0-2661-9700 ‚∑√“√ 0-2661-9721
http://www.acer.co.th
- Addeddate
- 2022-01-11 18:30:25
- Identifier
- manuallib-id-2668450
- Identifier-ark
- ark:/13960/s2xq4mgjjt6
- Ocr
- tesseract 5.0.0-1-g862e
- Ocr_autonomous
- true
- Ocr_detected_lang
- en
- Ocr_detected_lang_conf
- 1.0000
- Ocr_detected_script
- Latin
- Ocr_detected_script_conf
- 1.0000
- Ocr_module_version
- 0.0.14
- Ocr_parameters
- -l eng+Latin
- Page_number_confidence
- 97.73
comment
Reviews
There are no reviews yet. Be the first one to
write a review.
52
Views
DOWNLOAD OPTIONS
Temporarily Unavailable
DAISY
For users with print-disabilities
Temporarily Unavailable
EPUB
Uploaded by
chris85
on
-
Page 1
Manual for Acer Projector XD1150/XD1150D/ XD1250/XD1250D series[…]
-
Page 2
Dispos al ins tr uctions Do not throw this electronic device into the trash when discarding. T o minimize pollution and ensure utmost protection of the global environment, please re- cycle it. USA For electronic products containing an LCD/CRT monitor or display , or a super high pressure mercury lamp: Lamp(s) inside this product contain mercury and[…]
-
Page 3
1 … English Table of Contents T able of Contents …………………………………………………………………………….. 1 Usage Notice …………………………………………………………………………………… 2 Precautions ………………………………………………………………………..[…]
-
Page 4
2 English … Usage Notice P recau t i ons Follow all warnings, precautions and maintenance as recommended in this user’s guide to maximize the life of your unit. W a r n i ng- Do not look i nto t he proj ec tor ’ s le n s when t he la mp is on. T he b rig ht lig ht may hur t your e yes. W a r n i ng- T o re duce the r i sk of fi re or e lec t[…]
-
Page 5
3 … English Usage Notice Do: Turn off the product before cleaning. Use a soft cloth moistened with mild detergent to clean the display housing. Disconnect the power plug from AC outlet if the product is not being used for a long period of time. Don’t: Block the slots and openings on the unit provided for ventilation. Use abr[…]
-
Page 6
4 English … Introduction Product Features This product is an XGA(XD1250/XD1250D)/ SVGA(XD1150/XD1150D) single chip 0.55” DLP ® projec- tor. Outstanding features include: True XGA, 1024 x 768 addressable pixels (for XD1250/ XD1250D) True SVGA, 800 x 600 addressable pixels (for XD1150/ XD1150D) Single chip DLP ® technology NTSC3.58/[…]
-
Page 7
5 … English Introduction Package Overview This projector comes with all the items shown below. Check to make sure your unit is complete. Contact your dealer immediately if anything is missing. Power Cord 1.8m VGA Cable 1.8m Composite Video Cable 2.0m Projector with lens cap Remote Control 2 x Battery Carrying Case User’s Guide Quick Start Card […]
-
Page 8
6 English … Introduction Two remote control receiver provided at front panel and front-top cover. Main Unit Product Overview 1. Focus Ring 2. Zoom Ring 3. Remote Control Receivers 4. Zoom Lens 5. Elevator Foot 6. Elevator Button 7. Power Socket 8. Connection Ports 9. Control Panel 2 7 3 3 4 5 1 6 9 8[…]
-
Page 9
7 … English Introduction Control Panel 1. Temp Indicator LED 2. Lamp Indicator LED 3. Power and Indicator LED (Power LED) 4. Source 5. Resync 6. Menu 7. Four Directional Select Keys 5 1 3 2 4 6 7[…]
-
Page 10
8 English … Introduction Connection Ports 1. DVI Input Connector (for Digital signal with HDCP function) (*) 2. VGA Input Connector (PC Analog Signal/HDTV/Component Video) 3. Audio Input Connector (*) 4. S-Video Input Connector 5. Composite Video Input Connector 6. Monitor Loop-through Output Connector (VGA-Out) (*) 7. USB Connector 8. RS232 Conn[…]
-
Page 11
9 … English Introduction 1. Power 2. Resync 3. Source 4. Freeze 5. Hide 6. Aspect Ratio 7. Mute (*) 8. Four Directional Select Keys 9. Back 10. Keystone +/- 11. Menu 12. Volume +/- (*) 13. Page Up/Page Down Remote Control 14. Empowering Key 15. VGA 16. S-Video 17. Component Video 18. Composite Video 19. DVI (*) 20. Language 3 5 7 9 12 13 16 18 1 […]
-
Page 12
Installation 10 English … Connecting the Projector 1. …………………………………………………………………………………………………….. Power Cord 2. …………………………………………………………………….. DVI Cable (Optional Accessory) 3. …………………………………………[…]
-
Page 13
Installation 1 1 … English Powering On/Off the Projector Power Powering On the Projector 1. Remove the lens cap. 2. Ensure that the power cord and signal cable are securely connected. The Power LED will fl ash red . 3. Turn on the lamp by pressing “Power” button on the control panel. And the Power LED will turn blue . 4. Turn on your[…]
-
Page 14
Installation 12 English … Warning Indicator When the “ LAMP ” indicator lights solid red, the projector will automatically shut itself down. Please contact your local reseller or service center. When the “ TEMP ” indicator lights solid red for about 20 sec- onds, it indicates the projector has been overheated. You will see a messa[…]
-
Page 15
Installation 13 … English Adjusting the Projected Image Adjusting the Projector Image Height The projector is equipped with an elevator foot for ad- justing the image height. To raise the image: 1. Press the elevator button . 2. Raise the image to the desired height angle , then re- lease the button to lock the elevator foot into position[…]
-
Page 16
Installation 14 English … This graph is for user’s reference only. Scree n (Diagonal) Max. 25.41 ”(64.5cm) 76.23 ”(193.6cm) 127.05 ”(322.7cm) 177.87 ”(451.8cm) 254.10 ”(645.4cm) 30 4.93 ”(774.5cm) Min. 23.10 ”(58.7cm) 69.33 ”(176.1cm) 115.55 ”(293.5cm) 161.7 8 ”(410.9cm) 231.11 ”(587.0cm) 277.33 ”(704.4cm) Screen siz[…]
-
Page 17
User Controls 15 … English Control Panel & Remote Control There are two ways for you to control the functions: Re- mote Control and Control Panel. Control Panel Using the Control Panel Power Refer to the “Power On/Off the Projector” section on pages 11-12. Resync Automatically synchronizes the projector to the input source. Menu ?[…]
-
Page 18
User Controls 16 English … Using the Remote Control Power Refer to the “Power On/Off the Projector” section on pages 11-12 Resync Automatically synchronizes the projector to the input source. Source Press “Source” to choose RGB, Component-p, Component-i, S-Video, Composite Video and HDTV sources. Freeze Press “Freeze” […]
-
Page 19
User Controls 17 … English Empowering Key Acer Empowering Key provides three Acer unique functions, they are “ Acer eView Management ” , “ Acer eTimer Management ” and “ Acer eOpening Management ” respectively. Press “ e ” key for more than one second to launch the on screen display main menu to modify its function. Acer eView Man[…]
-
Page 20
User Controls 18 English … VGA Press “VGA” to change source to VGA-In connector. This con- nector supports Analog RGB, YPbPr (480p/576p/720p/1080i), YCbCr (480i/576i) and RGBsync. Component Video Press “Component” to change source to component Video source. This source supports YPbPr (480p/576p/720p/1080i) and YCbCr (480i/576i) Co[…]
-
Page 21
User Controls 19 … English On Screen Display Menus Main Menu Sub Menu Settings The Projector has multilingual On Screen Display menus that allow you to make image adjustments and change a variety of settings. The projector will automatically detect the source. How to operate 1. To open the OSD menu, press “Menu” on the Remote Control or Contr[…]
-
Page 22
User Controls 20 English … Color (Computer / Video Mode) Display Mode There are many factory prese ts optimized for various types of images. Bright : For brightness optimization. PC : For computer or notebook. Video : For playing video in a bright environment. Theater : For Home Theatre usage in a dark room. sRGB : For true-co[…]
-
Page 23
User Controls 21 … English Color (Computer / Video Mode) White Segment Use the white Segment control to set the white peaking level of DMD chip. 0 stands for minimal segment, and 10 stands for maximum seg- ment. If you prefer a stronger image, adjust towards the maximum setting. For a smooth and more natural image, adjust towards the minimum sett[…]
-
Page 24
User Controls 22 English … Image (Computer / Video Mode) Keystone Adjust image distortion caused by tilting projection. (±16 degrees) Aspect Ratio Use this function to choose your desired aspect ratio. Auto : Keep the image with original width-higth ratio and maxi- mize the image to fit native horizontal or vertical pixels. 16:9 : Th[…]
-
Page 25
User Controls 23 … English Image (Computer / Video Mode) “H. Position”, “V. Position”, “Frequency” and “ Tracking” func- tions are not supported under DVI and Video mode. “Sharpness” func- tions is not supported under VGA connector source. Rear-Ceiling When you select this function, the projector reverses and turns[…]
-
Page 26
User Controls 24 English … Auto Shutdown (Minutes) The projector will auto shutdown while there is no signal input after the setting time. Source Lock When source lock is turned off, the projector will search for other signals if the current input signal is lost. When source lock is turned on, it will “Lock” the current source channel before […]
-
Page 27
User Controls 25 … English Acer eOpening Management is a PC utility for user to change the default startup screen of Acer projector to their desired image. You can install Acer eOpening Management from the bundled CD. Connect the projector to your PC with the bundled USB cable then execute Acer eOpening Management utility to download your desired[…]
-
Page 28
User Controls 26 English … Management (Computer / Video Mode) Lamp Hour Reset Press the button after choosing “Yes ”to turn the lamp hour counter to 0 hours. Security Press to start “Security” setting. You must enter “Administrator Password” first before Security setting. Security This projector provides an excellent security function[…]
-
Page 29
User Controls 27 … English Management (Computer / Video Mode) Once “Security” is set to “On”, administrator can set timeout function. Press or to select timeout duration. The range is from 10 minutes to 990 minutes. When time is up, the projector will request user to enter password again. The factory default setting of “[…]
-
Page 30
User Controls 28 English … Management (Computer / Video Mode) The projector provide two options of “Security Mode”. Select “Request password only after plugging power cord”, the project will request user to input password only for the first time plugging on power cord of the projector. Select “Always request password while proje[…]
-
Page 31
User Controls 29 … English Management (Computer / Video Mode) If administrator forgot “Administrator Password”, do the following to retrieve the “Administrator Password”: 1. Press “MENU” for more than 4 seconds when any of “Enter Password” or “Enter Administrator Password” dialogue is currently displayed. 2. Write down the “[…]
-
Page 32
User Controls 30 English … Management (Computer / Video Mode) Reset Press the button after choosing “Yes” to return the display pa- rameters on all menus to the factory default settings.[…]
-
Page 33
User Controls 31 … English Audio (Computer / Video Mode) Volume Press the to decrease the volume. Press the to increase the volume. Mute Choose the “On” to turn mute on. Choose the “Off” to turn mute off. Power On/Off Volume Choose this function to adjust volume when power on/off. Alarm Volume Choose this function to adjus[…]
-
Page 34
User Controls 32 English … Timer (Computer / Video Mode) Timer Start Press the to start/stop timer. Timer Period Press the to adjust timer period. Timer Volume (*) Choose this function to adjust volume when timer function is enable and time is up. Timer Display Press the to choose timer display mode on the screen. Timer Location Choose the timer […]
-
Page 35
User Controls 33 … English Language (Computer / Video Mode) Language Choose the multilingual OSD menu . Use the or key to select your preferred language. Press to confirm the selection[…]
-
Page 36
Appendices 34 English … Troubleshooting If you experience trouble with the projector, refer to the following information. If the problem persists, please contact your local reseller or service center. Problem: No image appears on screen. Ensure all the cables and power connections are correctly and se- curely connected as described in the “[…]
-
Page 37
Appendices 35 … English 6. Click on “Show all devices”. Then select “Standard monitor types” under the “Manufacturers” box ; choose the resolution mode you need under the “Models” box. 7. Verify that the resolution setting of the monitor display is less than or equal to 1024 x 768 (XD1250/XD1250D)/800 x 600 (XD1150/XD1150D). I[…]
-
Page 38
Appendices 36 English … Problem: The image is outstretched when displaying 16:9 DVD. The projector automatically detects 16:9 DVD and adjusts the aspect ratio by digitizing to full screen with 4:3 default set- ting. If the image is still outstretched, you will also need to adjust the aspect ratio by referring to the following: Please select 4[…]
-
Page 39
Appendices 37 … English Problem: Message Reminders “Lamp is approaching the end of its useful life in full power opera- tion. Replacement Suggested!” will be shown about 10 seconds when lamp life is going to deplete. “Projector Overheated. Lamp will automatically turn o ff soon.” will be shown when the system temperature is over h[…]
-
Page 40
Appendices 38 English … Replacing the lamp The projector will detect the lamp life itself. It will show you a warning message “Lamp is approaching the end of its useful life in full power operation. Replacement Suggested!” When you see this message, changing the lamp as soon as possible. Make sure the projector has been cooled down for at lea[…]
-
Page 41
Appendices 39 … English Specifi cations The specs specifi ed below are subject to change without notice. Regarding the fi nal specs, please refer to Acer announced marketing specs. Light Valve — Single Chip DLP ® Technology by Texas Instruments Lamp — 180W User Replaceable Lamp Number of Pixels — 1024 pixels(H) X 768 lines(V) for XD1250/XD125[…]
-
Page 42
Appendices 40 English … Compatibility Modes Mode Resolution (ANALOG) V.Frequency (Hz) H.Frequency (kHz) VESA VGA 640 x 350 70 31.5 VESA VGA 640 x 350 85 37.9 VESA VGA 640 x 400 85 37.9 VESA VGA 640 x 480 60 31.5 VESA VGA 640 x 480 72 37.9 VESA VGA 640 x 480 75 37.5 VESA VGA 640 x 480 85 43.3 VESA VGA 720 x 400 70 31.5 VESA VGA 720 x 400 85 37.9 V[…]
-
Page 43
Appendices 41 … English Regulation & safety notices This appendix lists the general notices of your Acer Projector. FCC notice This device has been tested and found to comply with the limits for a Class B digital device pursuant to Part 15 of the FCC rules. These limits are designed to provide reasonable protection against harmful interferenc[…]
-
Page 44
Appendices 42 English … Operation conditions This device complies with Part 15 of the FCC Rules. Operation is subject to the following two conditions: 1. this device may not cause harmful interference, and 2. this device must accept any interference received, in cluding interfer- ence that may cause undesired operation. Notice: Canadian users Thi[…]
-
Page 45
Appendices 43 … English Important safety instructions Read these instructions carefully. Save them for future reference. 1. Follow all warnings and instructions marked on the product. 2. Unplug this product from the wall outlet before cleaning. Do not use liquid cleaners or aerosol cleaners. Use a water-moistened cloth for cleaning. 3. Do not use[…]
Have a look at the manual Acer Projector Xd1150 User Manual online for free. It’s possible to download the document as PDF or print. UserManuals.tech offer 720 Acer manuals and user’s guides for free. Share the user manual or guide on Facebook, Twitter or Google+.
Manual for Acer Projector XD1150/XD1150D/ XD1250/XD1250D series
Disposal instructions
Do not throw this electronic device into the trash when discarding. To minimize
pollution  and  ensure  utmost  protection  of  the  global  environment,  please  re-
cycle it.
USA
For  electronic  products  containing  an  LCD/CRT  monitor  or  display,  or  a  super high pressure mercury lamp:
Lamp(s) inside this product contain mercury and must be recycled or disposed
of  according  to  local,  state  or  federal  laws.  For  more  information,  contact  the
Electronic Industries Alliance at www.eiae.org. For lamp-specifi c disposal infor-
mation, check   www.lamprecycle.org.
1... English
Table of Contents
Table of Contents .........................................................................................1
Usage Notice ................................................................................................2
Precautions ..........................................................................................................2
Introduction ..................................................................................................4
Product Features ..................................................................................................4
Package Overview  ...............................................................................................5
Product Overview  ................................................................................................6
Main Unit ........................................................................................................................6
Control Panel  .................................................................................................................7
Connection Ports  ...........................................................................................................8
Remote Control ..............................................................................................................9
Installation ..................................................................................................10
Connecting the Projector  ....................................................................................10
Powering On/Off the Projector ............................................................................ 11
Powering On the Projector ........................................................................................... 11
Powering Off the projector ...........................................................................................
12
Warning Indicator  .........................................................................................................
12
Adjusting the Projected Image  ...........................................................................13
Adjusting the Projector Image Height  ..........................................................................13
Adjusting the Projector Zoom / Focus  ..........................................................................14
Adjusting Projected Image Size ...................................................................................14
User Controls .............................................................................................15
Control Panel & Remote Control  ........................................................................15
On-Screen Display Menus .................................................................................19
How to operate  ............................................................................................................19
Color (Computer/Video Mode)   ....................................................................................
20
Image (Computer/Video Mode)  ....................................................................................
22
Management (Computer/Video Mode)   ........................................................................
24
Audio (Computer/Video Mode)   ...................................................................................
31
Timer (Computer/Video Mode)   ....................................................................................
32
Language(Computer/Video Mode)   ..............................................................................
33
Appendices ................................................................................................34
Troubleshooting  ..................................................................................................34
Replacing the lamp  .............................................................................................38
Specifi cations .....................................................................................................
39
Compatibility Modes  ...........................................................................................40
Regulation & safety notices .......................................................................41
2English ...

Usage Notice

Precautions
Follow all warnings, precautions and maintenance as recommended in
this user’s guide to maximize the life of your unit.
Warning- Do not look into the projector’s lens when the lamp
is on.  The bright light may hurt your eyes.
Warning-   To reduce the risk of fi  re or electric shock, do not
expose this product to rain or moisture.
Warning-   Please do not open or disassemble the product as
this may cause electric shock.
Warning-   When changing the lamp, please allow unit to cool
down, and follow all changing instructions.
Warning-   This product will detect the life of the lamp itself.
Please be sure to change the lamp when it shows
warning messages.
Warning-   Reset the “Lamp Hour Reset” function from the On
Screen Display “Management” menu after replacing
the lamp module (refer to page 26)
Warning-   When switching the projector off, please ensure the
projector completes its cooling cycle before
disconnecting power.
Warning-   Turn on the projector fi  rst and then the signal
sources.
Warning-   Do not use lens cap when projector is in operation.
Warning-  When the lamp reaches the end of its life, it will
burn out and may make a loud popping sound.  If
this happens, the projector will not turn back on
until the lamp module has been replaced. To replace
the lamp, follow the procedures listed under “Re-
placing the Lamp”.
3... English
Usage Notice
Do:
Turn off the product before cleaning.
Use a soft cloth moistened with mild detergent to clean the
display housing.
Disconnect the power plug from AC outlet if the product is not
being used for a long period of time.
Don’t:
Block the slots and openings on the unit provided for
ventilation.
Use abrasive cleaners, waxes or solvents to clean the unit.
Use under the following conditions:
- In extremely hot, cold or humid environments.
- In areas susceptible to excessive dust and dirt.
- Near any appliance that generates a strong magnetic fi eld.
- Place in direct sunlight.
4English ... Introduction Product Features This product is an XGA(XD1250/XD1250D)/ SVGA(XD1150/XD1150D) single chip 0.55” DLP® projec- tor. Outstanding features include: True XGA, 1024 x 768 addressable pixels (for XD1250/ XD1250D) True SVGA, 800 x 600 addressable pixels (for XD1150/ XD1150D) Single chip DLP® technology NTSC3.58/NTSC4.43/PAL/SECAM and HDTV compat- ible (480i/p, 576i/p, 720p, 1080i) User friendly and powerful Acer Empowering key in- cluding: Acer eView Management, Acer eTimer Manage- ment and Acer eOpening Management. High-tech DVI connection for digital signal with HDCP function and supports 480p, 576p, 720p and 1080i (XD1150D/XD1250D) Full function remote control Advanced digital keystone correction and high quality full screen image re-scaling User friendly control panel SXGA+, SXGA compression and VGA, SVGA re-sizing (for XD1250/XD1250D) SXGA, XGA compression and VGA re-sizing (for XD1150/XD1150D) Mac compatible
5... English Introduction Package Overview This projector comes with all the items shown below. Check to make sure your unit is complete. Contact your dealer immediately if anything is missing. Power Cord 1.8mVGA Cable 1.8m Composite Video Cable 2.0m Projector with lens cap Remote Control 2 x Battery Carrying CaseUser’s GuideQuick Start Card USB Cable 1.8m (*) S-Video Cable 1.8m (*)VGA to Component/HDTV Adapter (*)(*): for XD1150D, XD1250D only.
6English ... Introduction Two remote control receiver provided at front panel and front-top cover. Main Unit Product Overview 1. Focus Ring2. Zoom Ring 3. Remote Control Receivers 4. Zoom Lens5. Elevator Foot 6. Elevator Button7. Power Socket8. Connection Ports9. Control Panel 2 7 3 3 45 1 6 9 8
7... English

Introduction

 Control Panel
1.  Temp Indicator LED
2.  Lamp Indicator LED
3.  Power and Indicator LED (Power LED)
4.  Source
5.  Resync
6.  Menu
7.  Four Directional Select Keys
5
1
3
2
4
6
7
8English ... Introduction Connection Ports 1. DVI Input Connector (for Digital signal with HDCP function) (*) 2. VGA Input Connector (PC Analog Signal/HDTV/Component Video) 3. Audio Input Connector (*) 4. S-Video Input Connector 5. Composite Video Input Connector 6. Monitor Loop-through Output Connector (VGA-Out) (*) 7. USB Connector 8. RS232 Connector (*) 9. KensingtonTM Lock Port VGAINS-VIDEOVIDEOUSBDVIAUDIOINVGAOUTRS232 9 7 1 2 34 5 6 8 (*): for XD1150D/ XD1250D only.
All Acer manuals
Comments (0)
Related Manuals for Acer Projector Xd1150 User Manual