Название проекта: Znap — робот из LEGO Mindstorms EV3
Платформа: LEGO Mindstorms
Znap — стандартная модель робота, которую можно собрать из базового и ресурсного наборов LEGO Mindstorms EV3 Education. Веселый интерактивный робот, который принесет море положительных эмоций.
Скачать инструкцию по сборке.
Использованные компоненты: базовый набор LEGO Mindstorms Education EV3, артикул 45544, ресурсный набор Lego Mindstorms Education EV3 артикул 45560

Сайт проекта: http://robotsquare.com/2013/10/01/lego-mindstorms-ev3-education-expansion-set-45560-instructions/
Другие проекты на этой платформе:
- Двуногий робот из Arduino, LEGO и деталей 3D печати
- LEGO EV3 робот-художник
- SpinnerBot из LEGO Mindstorms
- LegoGun — двуствольный пистолет из Lego Mindstorms EV3
- Спирограф — рисующий робот из LEGO Mindstorms EV3
- Бесполезная коробка из Lego Mindstoms EV3
- Гексапод из Lego Mindstorms EV3
- Роботизированная рука из Lego Mindstorms EV3
- Подъемные механизмы из LEGO Mindstorms
- Прибор автоматической подачи одноразовых стаканчиков из LEGO Mindstorms
- Робот-кабан-динозавр DINOR3X из LEGO Mindstorms EV3
- Робот-сортировщик (Color Sorter) из LEGO Mindstorms EV3
- Робот Educator Vehicle из LEGO Mindstorms EV3
- Робот-сигвей (Gyro Boy) из Lego Mindstorms
- Робот-манипулятор Arm H25 из LEGO Mindstorms
- Робот-гексапод NXTAPOD из LEGO Mindstorms. Модель Даниэля Бенедеттелли
- Робот-щенок (Puppy) из LEGO Mindstorms EV3
- Лимоноид — робот, продающий напитки
- Киноаппарат из Lego Mindstorms
- Принтер из Lego Mindstorms «STALKER ver. 2.0»
- Робот-пожарный из LEGO Mindstorms
- Крестики-нолики — ARBUZIKI-TEAM
- EZ Wilber — говорящий балансирующий робот из Lego Mindstorms
- Ev3 Print3rbot — робот-художник из Lego Mindstorms
- 3D-принтер из Lego печатает шоколадом
- Lego Mindstorms NXT 2.0 играет в шахматы
- Робот-гексапод из Lego Mindstorms NXT 2.0
- Робоноги из Lego Mindstorms
- Lego Mindstorms-экскаватор, управляемый Microsoft Kinect
- Lego-робот DIZZ3
- Крестики-нолики для Lego-робота
- Lego Mindstorms EV3 3D-принтер 2.0
Перейти в каталог DIY-проектов роботов
Как добавить робопроект в каталог?

Теги: Lego Education, Lego Mindstorms, инструкция
Всего 51 инструкция.
R2D2
Боевая тележка
Бульдозер
Быстро-бот
Валли
Вентилятор
ГироБой
Горилла
Грузовик
Гусеничная тележка
Динозавр
Захват
Знеп
Игровая машина
Игровая машина
Комар
Конвейер для шариков
Луноход
Манипулятор
Манипулятор-рука
Наклонная тележка
Погрузчик
Ползающий робот
Принтер
Пульт управления
Распознаватель цветов
Рисующая рука
Рисующий робот
Робот с захватом
Робот с клешнями
Робот Сторм
Робот, поднимающийся по лестнице
Рыбка-ангел
Скорпион
Слон
Собака
Сортировщик по цвету
Сортировщик по цвету
Танк
Тележка
Тележка с гироскопом
Тележка с шариковой опорой
Тележка со средним мотором
Тележка+датчик касания
Тележка+датчик расстояния
Тележка+датчик цвета снизу
Тележка+датчик цвета спереди
Фабрика спиннеров
Цветок
Черепаха
Электро-гитара
Вернуться в каталог (всего 137 инструкций).
Introduction: Znap Lego Robot
This tutorial serves as a guide to building and programming the small, fierce, and autonomous monster robot Znap. Through out the project, you will learn not only lego construction but EV3 programming as well. Make sure to read every step carefully, utilize all help links, and have fun!
What You’ll Need
- LEGO MINDSTORMS Education EV3 Core Set
- LEGO MINDSTORMS Education EV3 Expansion Set
- EV3 Software (Available for Windows and Mac OS)
- http://www.lego.com/en-us/mindstorms/downloads/download-software
Step 1: Step 1: Build Znap
The first step is to put together the Znap robot. There are a lot of pieces to this model set, so make sure that you separate out the pieces from one another and to keep track of them. Make sure that you follow the instructions provided in the program so that every piece fits nice and snug. When determining the length of the pieces, please refer to the backside of the card stock insert that comes with the set. There is a section that shows you the part number and the size of it.
After the Znap is finished being built, it is time to add some modifications. The first modification is to add the red tank grips on the treads of the Znap. This comes from the TankBot set in the Lego box, but has been re-purposed for Znap. This allows Znap to have better grip on any surface which in turn means better response from the motors. See the photos to get a better sense of the tank treads.
The next modification is to add two wheels to the brick itself. This modification is needed because the grips on the treads make it so that the Znap does a wheelie when it moves forward. All we did was simply take the 120 degree elbow piece and attach a wheel to it that would allow it to spin. From there we attached it to the main body on the brick. The wheels are not meant to have full contact with the ground. Think of them as training wheels for Znap so that it doesn’t rear back when it moves forward.
Step 2: Step 2: Programing Znap
The second step is to proceed forward with programming the brick for the Znap. This will allow the Znap to move autonomously after begin the program. What you will need to do first is to open up a new program from the EV3 file under the Znap folder ( this is where you will get the instructions to construct the robot). Although it is not required, it may help to write out on a sheet of paper what you want the robot to do.
We have provided an image of the program that we utilized to make the Znap come to life. It would be helpful to save the photos so that you can zoom in on the details of the code. There are many different ways you can program Znap to perform what you desire. The main motors that allow the Znap to move forward and backward are labeled «A» and «D» on the brick. The motor that controls the neck movements is labeled «B». The reason why there is no «C» motor is because the port is open on the brick. Referring back to the image, you will notice there are two separate program lines. The top line deals with the movement, and the bottom line deals with the sensing. For the top line, you will notice the blue «Activate» nodes. This is for the Znap to bite when he notices anything near his sensor field. Make sure that for the sensing line, that you will include tolerances for the sensors. This is so that he does not pick up something that is, for example, 5 feet away.
Some helpful tips when programming: Negative values for motors «A» and «D» will make the motors spin clockwise which will allow it to move forward. If you do not do so, you will find that the Znap motions will move backwards. When programming the turns, make sure you use the movements node and set the values opposite from one another (-100,100). This will allow the motors to spin opposite directions.
Step 3: Step 3: Optimize
Now that you have programmed and built Znap, it is time to run the program. Using trial and error, change the values on the individual nodes on the program to get different outcomes. For example, change the number of cycles from eight to four so that Znap does not move as far. If you want to add more spins, you may add more to suit your needs. The program itself is very flexible on the movement line of the program. If you notice an error while running the program or the program does not do what you wanted it to do, you will need to check and see if the programming nodes are in order or are defined. Often if there is an error, it will usually be because of the simple switch up of the nodes. That is why you need to be meticulous while programming the Znap or any thing in the EV3 program.
Модели из Базового набора LEGO® MINDSTORMS 45544 Education EV3
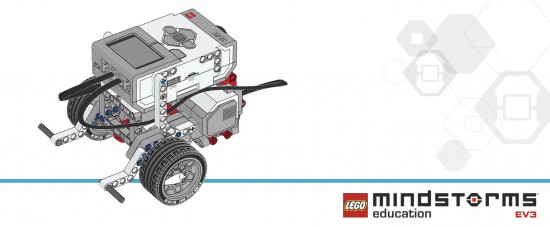
Робот Учитель
[ЗАГРУЗИТЬ — 5MB]
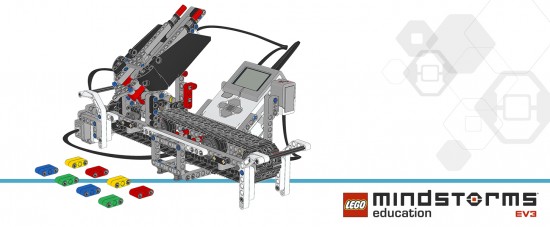
Цветосортировщик
[ЗАГРУЗИТЬ — 5MB]
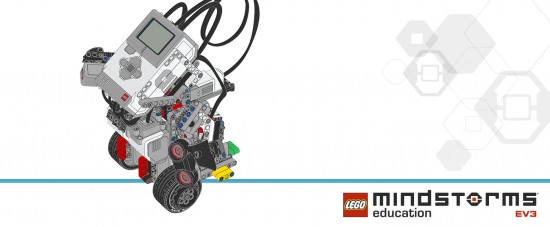
Гиробой
[ЗАГРУЗИТЬ — 5MB]
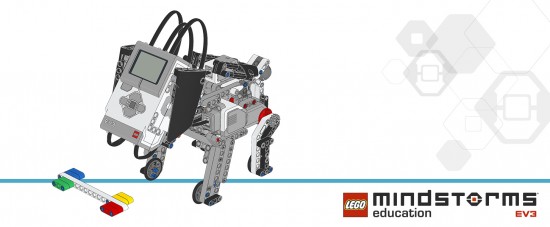
Щенок
[ЗАГРУЗИТЬ — 5MB]
Робот рука
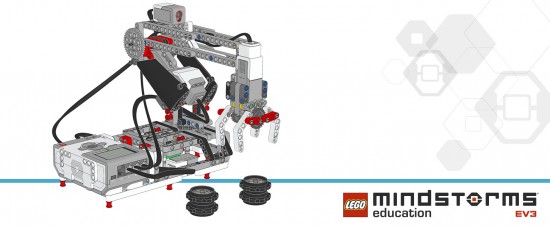
[ЗАГРУЗИТЬ — 5MB]
Модели из Ресурсного набора LEGO MINDSTORMS 45560 Education EV3 :
Знап
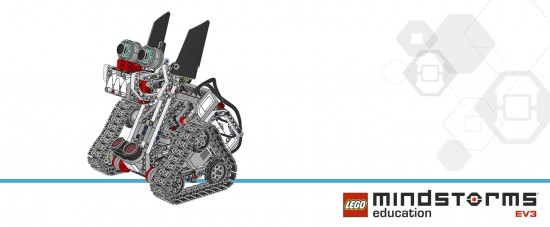
[ЗАГРУЗИТЬ — 5MB]
Пульт дистанционного управления
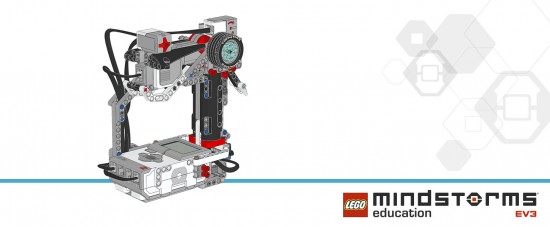
[ЗАГРУЗИТЬ — 3MB]
Ступенеход
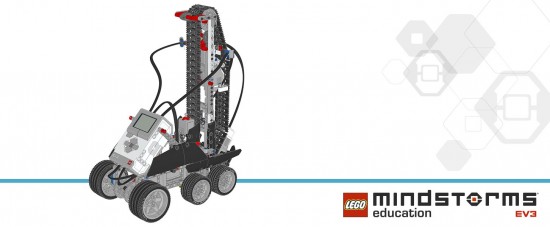
[ЗАГРУЗИТЬ — 6MB]
Танкбот
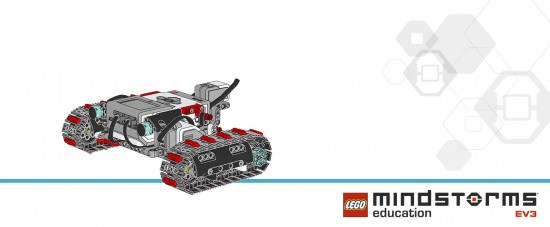
[ЗАГРУЗИТЬ — 2MB]
Слон
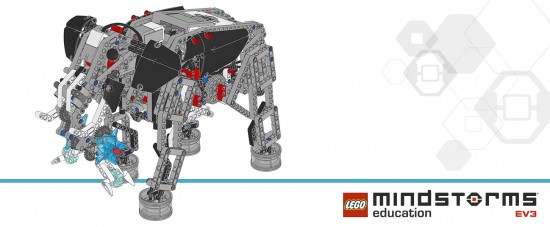
[ЗАГРУЗИТЬ — 9MB]
Фабрика вертушек
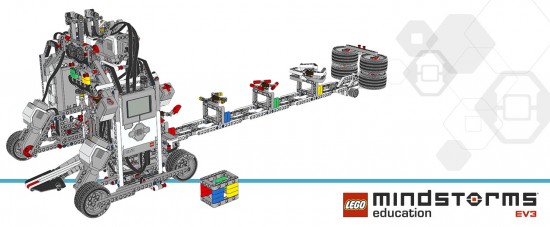
[ЗАГРУЗИТЬ Часть 1: 001-160 — 6MB]
[ЗАГРУЗИТЬ Часть 2: 161-320 — 5MB]
[ЗАГРУЗИТЬ Часть 3: 321-480 — 4MB]
Возврат в раздел
